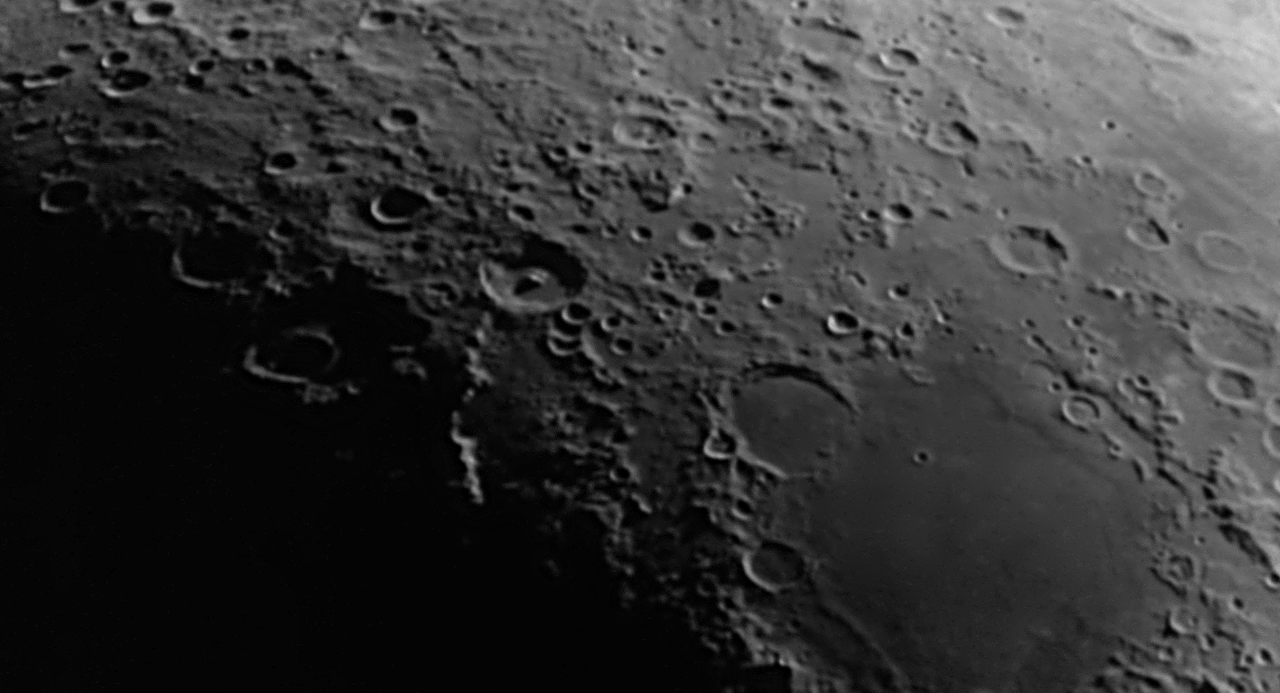
This post is going to illustrate a post-processing workflow for lunar surface images using the open source tools GIMP and G’MIC. GIMP has been largely ignored by astrophotographers in the past since it only supported 8-bit colour channels. The long awaited GIMP 2.10 release in April 2018, introduced 16-bit and 32-bit colour channel support, along with many other important improvements that enable high quality post-processing.
Astrophotographers seeking to present high detail images of The Moon, have long recognised that capturing a single still image is not sufficient. Instead normal practice is to capture a high definition video at a high frame rate lasting for a minute or more, by attaching a webcam to a telescope in place of the eyepiece. A program such as AutoStakkert2 will then process the video, analysing the quality of each video frame, selecting the “best” frames, and then merging them to produce a single frame with less noise and more detail. The output of AutoStakkert2 though is not a finished product and requires further post-processing to correct various image artefacts and pull out the inherent detail. A common tool used for this is Registax which particularly found popularity because of its wavelet sharpening feature.
Use of AutoStakkert2 can be a blog post in its own right, so won’t be covered here. What follows will pick up immediately after stacking has produced a merged image, and show how GIMP and G’MIC can replace use of the closed source, Windows based Registax tool.
The source material for the blog post is a 40 second long video captured with a modified Microsoft Lifecam HD paired with a Celestron Nexstar 4GT telescope. Most astrophotographers will spend £100 or more on CCD cameras directly designed for use with telescopes, so this modded Lifecam is very much at the low end of what can be used. This presents some extra challenges, but as can be seen, still allows for great results to be obtained with minimal expense.
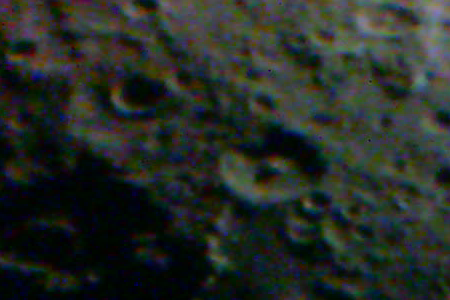
The first noticeable characteristic of the video is a strong pink/purple colour cast on the edges of the frame. This is caused by unwanted infrared light reaching the webcam sensor. A IR cut filter is attached to the webcam, but it is positioned too far away from the CCD chip to be fully effective. A look at a single video frame at 100% magnification shows high level of speckled chromatic noise across the frame. Finally the image slowly drifts due to inaccurate tracking of The Moon’s movement by the telescope mount and features are stretched and squashed due to atmospheric distortion.
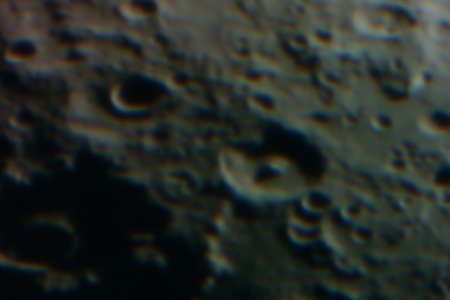
After the video frames are stacked using AutoStakkert2, the resulting merged frame shows significant improvements. The speckled noise has been completely eliminated by the stacking process which effectively averages out the noise across 100s (even 1000s) of frames. The image, however, appears very soft lacking any fine detail and there is chromatic aberration present on the red and blue channels
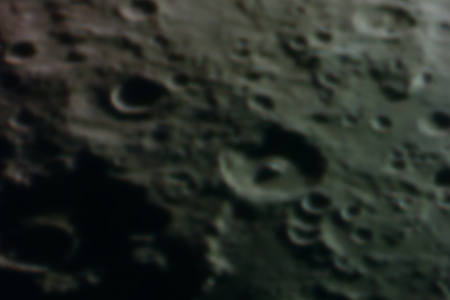
AutoStakkert2 will save the merged image as a 16-bit PNG file, and GIMP 2.10 will honour this bit-depth when loading the image. It is possible to then convert it to 32-bit per channel before processing, but for lunar images this is probably overkill. The first task is to get rid of the chromatic aberration since that has the effect of making the image even softer. With this particular webcam and telescope combination it is apparent that the blue channel is shifted 2 or 3 pixels up, relative to the green, while the red is shifted 2 or 3 pixels down. It is possible to fix this in GIMP alone by decomposing the image, creating a layer for each colour channel, then moving the x,y offset of the blue and red layers until they line up with green, and finally recomposing the layers to a produce a new colour image.
This is a rather long winded process that is best automated, which is where G’MIC comes into play. It is a general purpose image processing tool which has the ability to run as a GIMP plugin, providing more than 450 image filters. The relevant filter for our purpose is called “Degradations -> Chromatic Aberrations“. It allows you to simply enter the desired x,y offset for the red and blue channels and will re-align them in one go, avoiding the multi-step decompose process in GIMP.
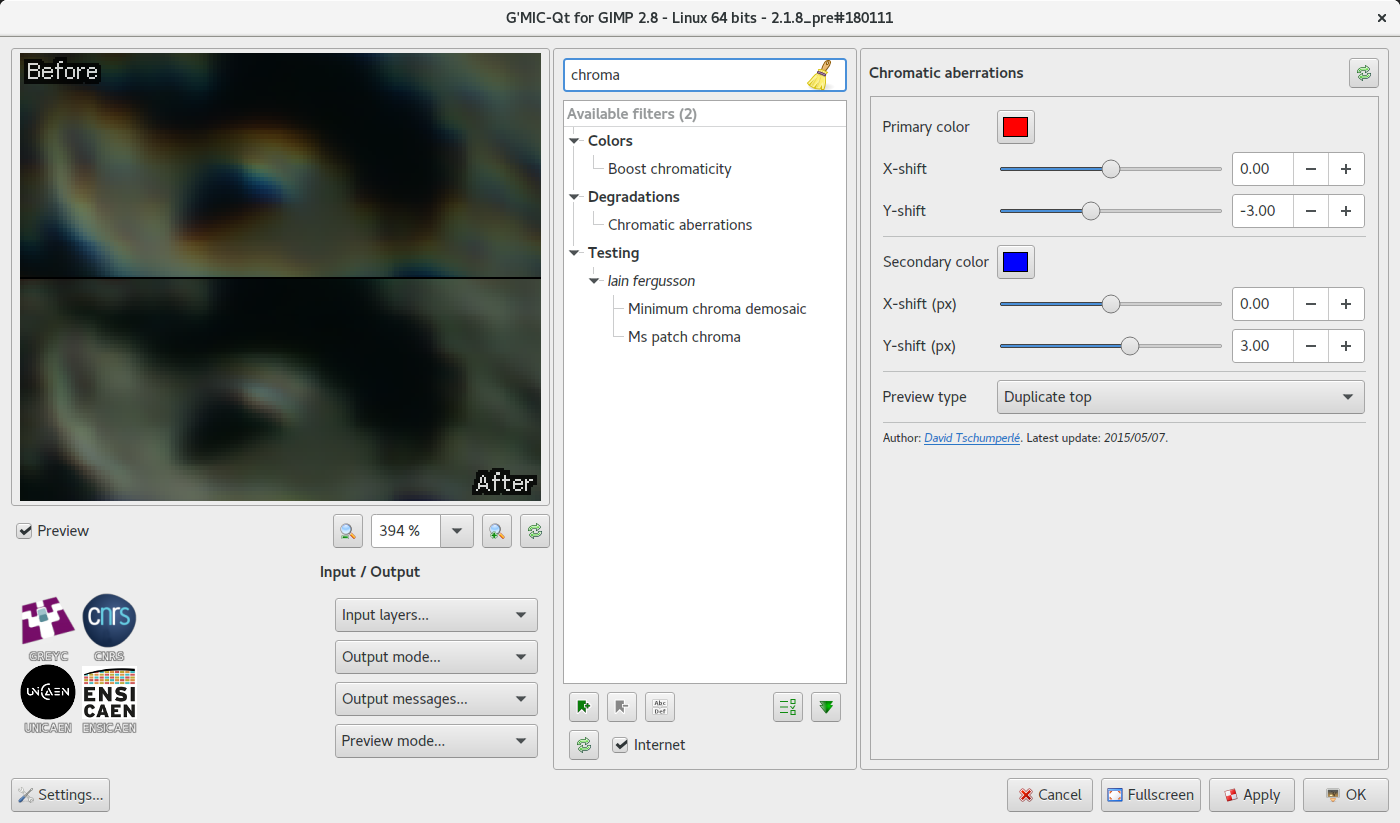
G’MIC Chromatic Aberration filter. The secondary colour defaults to green, but it is simpler if it is changed to blue, since that is the second fringe colour we’re looking to eliminate. The preview should be zoomed in to about 400% to allow alignment to be clearly viewed when adjusting x,y offsets.
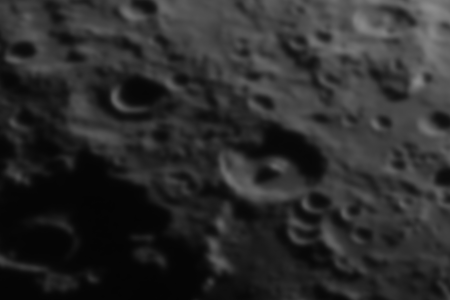
With the chromatic aberration removed the next step is to get rid of the colour cast. The Moon is not a purely monochrome object, with different areas of its surface have distinct colours which would ideally be preserved in any processed images. Due to the limitations of the camera being used, however, the IR wavelength pollution makes that largely impossible/impractical. The only real option is to desaturate the image to create an uniformly monochrome image. If a slightly off-grey colour tint is desired in the end result, that could be added by colourizing the final image.
The image that we have at this stage is still very soft, lacking in any fine detail. One of the most popular features in Registax is its wavelet based sharpening facility. Fortunately there are a number of options available in GIMP now that can achieve comparable results. GIMP 2.10 comes with a “Filters -> Enhance -> Wavelet decompose” operation, while G’MIC has “Details -> Split Details (wavelets)” both of which can get results comparable to Registax wavelets operating in linear mode. The preferred Registax approach though is to use guassian wavelets, and this has an equivalent in G’MIC available as “Details -> Split Details (gaussian)“. The way the G’MIC filter is used, however, is rather different so needs some explaining.
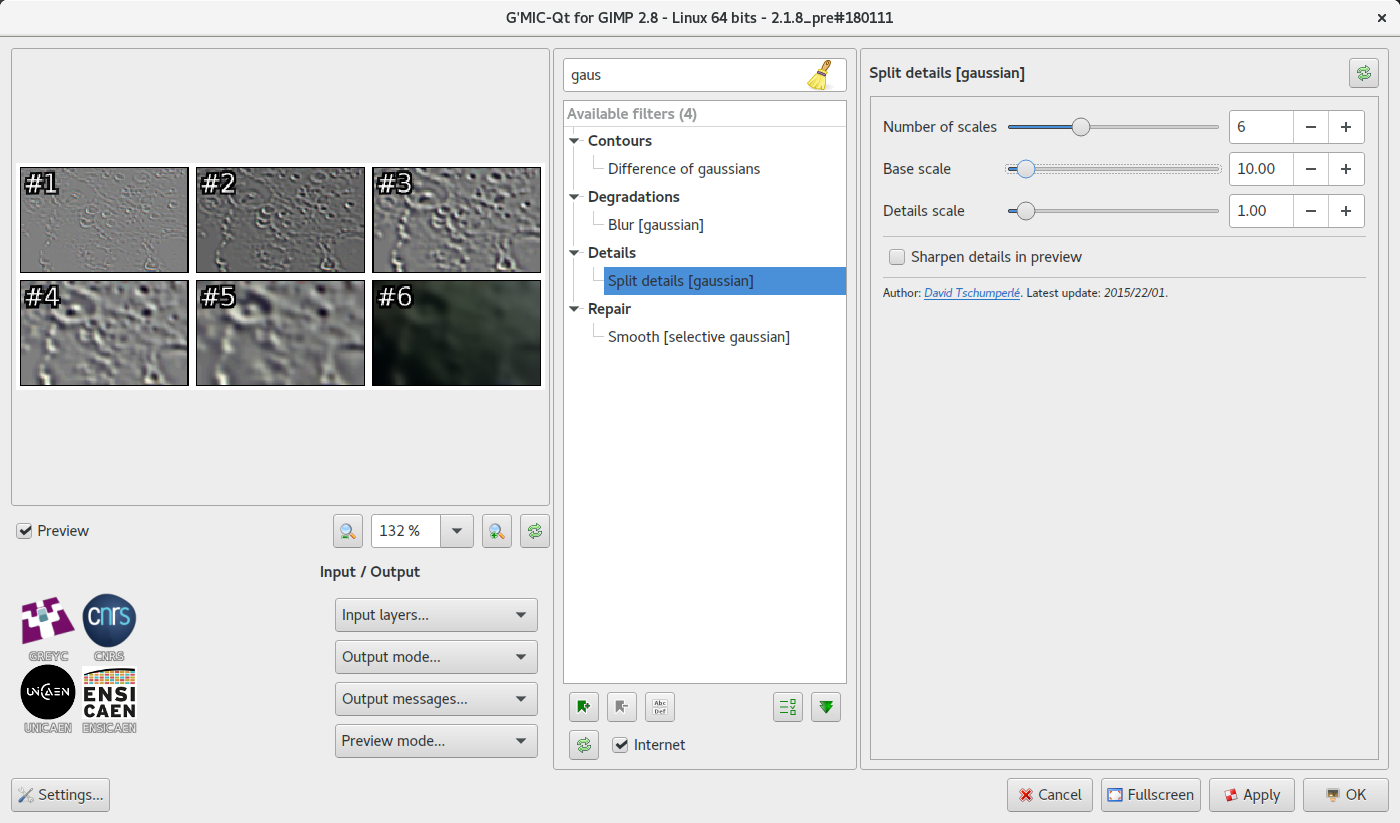
Split details (gaussian) filter. The image will be split into 6 layers by default, 5 layers of detail and a final background residual layer. Together the layers are identical to the original image. The number layers together with the two scale settings determine the granularity of detail in each layer. The defaults are reasonable but there’s scope to experiment if desired.
Describing the real mathematical principals behind gaussian wavelets is beyond the scope of this posting, but those interested can learn more from the AviStack implementation. Sticking to the high level, when the plugin is run it will split the visible layer into a sequence of layers. There is a base layer “residual” and then multiple layers of increasingly fine details applied with “Grain Merge” mode. Taken together these new layers are precisely equivalent to the original image.
The task now is to work on the individual detail layers to emphasize the details that are desired in the image, and (much less frequently) to de-emphasize details that are not desired. To increase the emphasis of details at a particular level, all that is required is to duplicate the appropriate layer. The finest detail layer may be duplicated many, many, many times while coarse detail layers may be duplicated only once, or not at all. If even one duplication is too strong, the duplicated layer opacity can be reduce to control its impact.
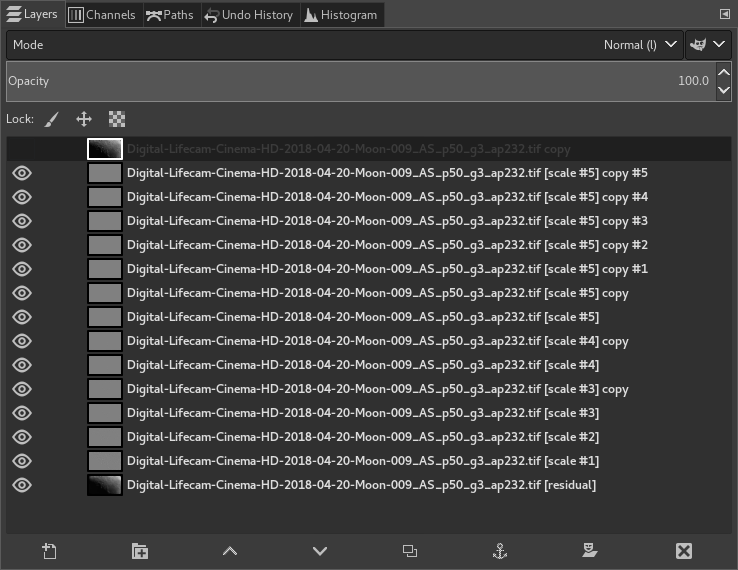
GIMP layers. The default G’MIC split details filter settings created 6 layers. The layer labelled “Scale #5” holds the fine details and has been duplicated 5 times to enhance fine details. The “Scale #4” and “Scale #3” layers have both been duplicated once, and opacity reduced on the “Scale #3” duplicate.
It is recommended to work in order from coarsest (“Scale #1”) to finest (“Scale #5”) detail layers, and typically the first two or three levels of details would be left unchanged to avoid unnatural looking images with too much contrast. There is no perfect set of wavelet adjustments that will provide the right amount of sharpening. It will vary depending on the camera, the telescope, the subject, the seeing conditions, the quality of stacking and more. Some experimentation will be required to find the right balance, but fortunately this is easy with layers since changes can be easily rolled back. After working on an image, ensure it is saved in GIMP’s native XCF format, leaving all layers intact. It that then be revisited the following day with a fresh eye whereupon the sharpening may be further fine tuned with benefit of hindsight.
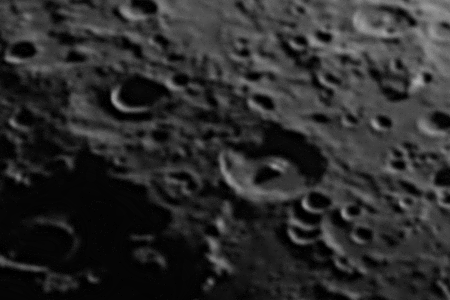
100% magnification crop after sharpening using G’MIC gaussian wavelets filter and GIMP layer blending
As the image below shows, even with a modified webcam costing < £20 on a popular auction site, it is possible to produce high detail images of The Moon’s surface, using open source tools for all post-processing after the initial video stacking process.
