The chemigram process is an artistic technique that involves the use of photographic materials and chemicals, but counter-intuitively will not generally be classified as a photographic process. Considering a fairly broad interpretation, photographic processes involve the formation of images by exposing some kind of sensitive emulsion to light. This may involve use of a camera, or may be entirely camera-less, but it is still “writing with light” as the formation of the image is dependant on the amount of light reaching each discrete point on the paper. As chemigrams are commonly (but not required to be) created in conditions of normal daylight, the photo-sensitive emulsion will be fully saturated by light almost immediately. It follows that the image formation is not based primarily on exposure to light, and thus precludes its classification as a photographic process.

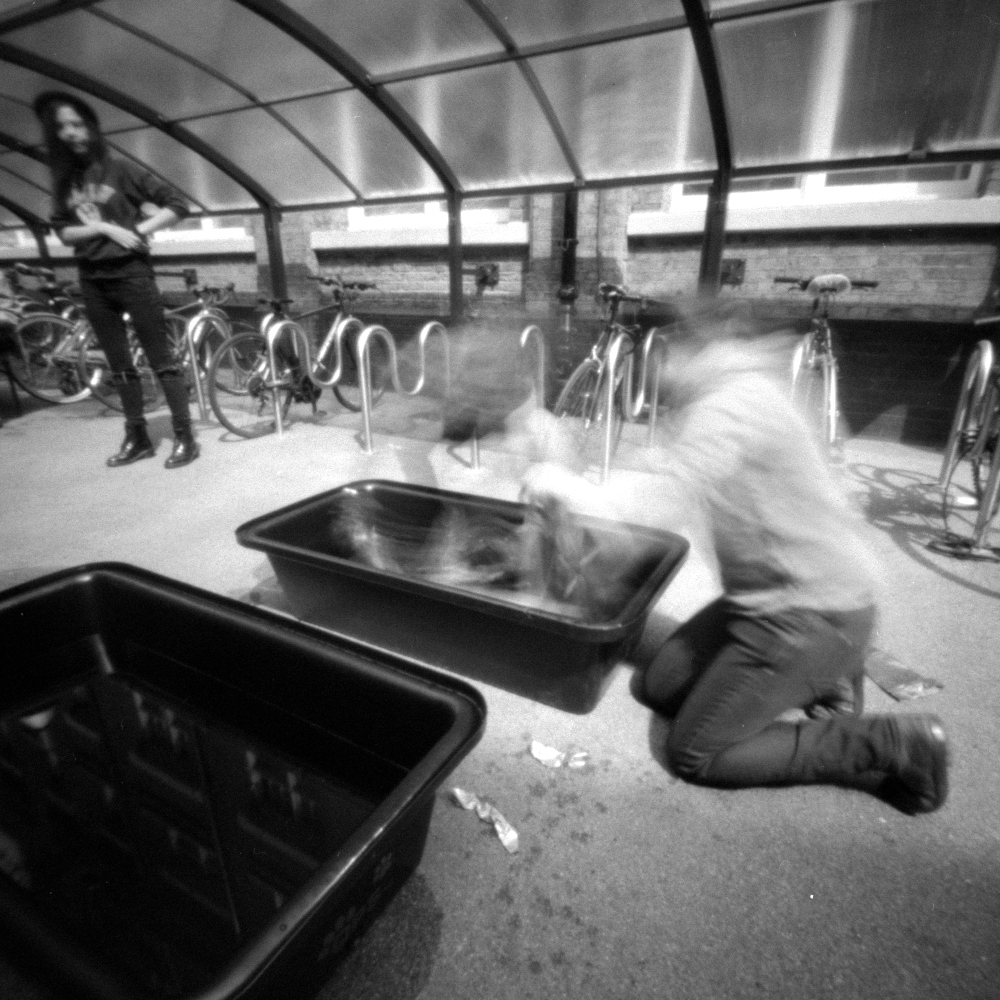
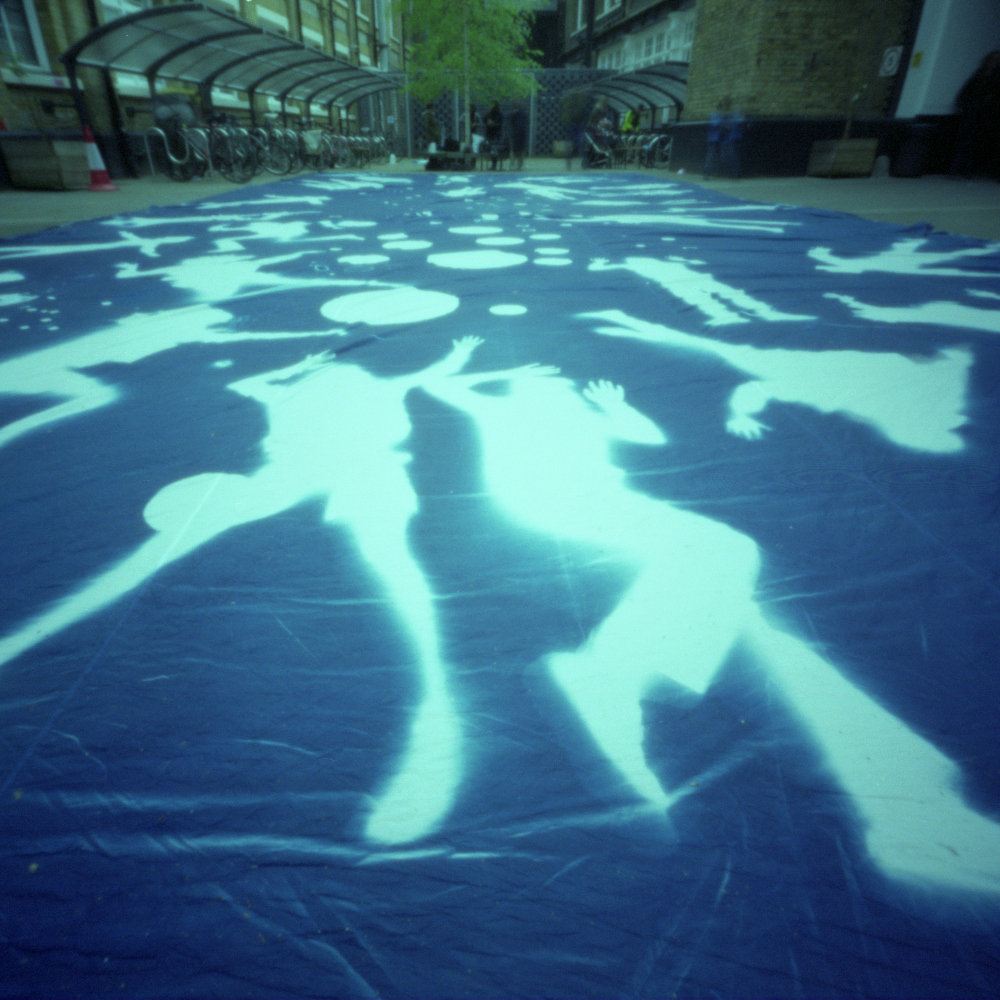
Chemigram 1.8 olive oil resist, by Carol Shergold, licensed CC BY
The basic idea of a chemigram is that photographic paper is alternately & repeatedly exposed to both developer and fixer. Areas of the paper exposed to developer first will tend towards black (since the paper is fully saturated with light), and areas of the paper exposed to fixer first will tend towards white. Obviously if a plain sheet of paper is placed in a bath of developer the whole sheet will go black which won’t be too interesting. So the technique involves some method of influencing which areas of the paper get exposed to the chemicals at each step, thus forming the desired image. As such the process is best described as “writing with chemistry”.
The chemigram process was invented and pioneered by Pierre Cordier, who sub-divides the practice into three categories:
- Chemigram without resist. The developer / fixer will be applied directly to the paper, using paint brushes, sponges, etched plate, stencils, stamps or any number of other instruments. This technique takes the chemigram close to traditional painting practices. Pigment based paints have simply been substituted for photographic developer & fixer.
- Chemigram with resist applied by hand. The paper will be coated with some kind of product that resists the effects of the developer and fixer. As the paper is passed back & forth between the developer and fixer, the mask will gradually come off allowing the chemicals to form an image.
- Chemigram with resist applied by photographic process. Again the paper will be coated with some kind of resist, but in this technique the resist will be applied using some photographic process such as silk screen printing with photo emulsion. This takes the chemigram close to traditional photographic practices.
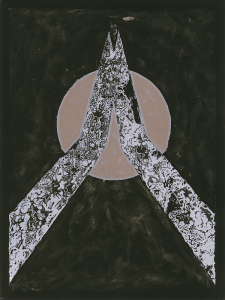
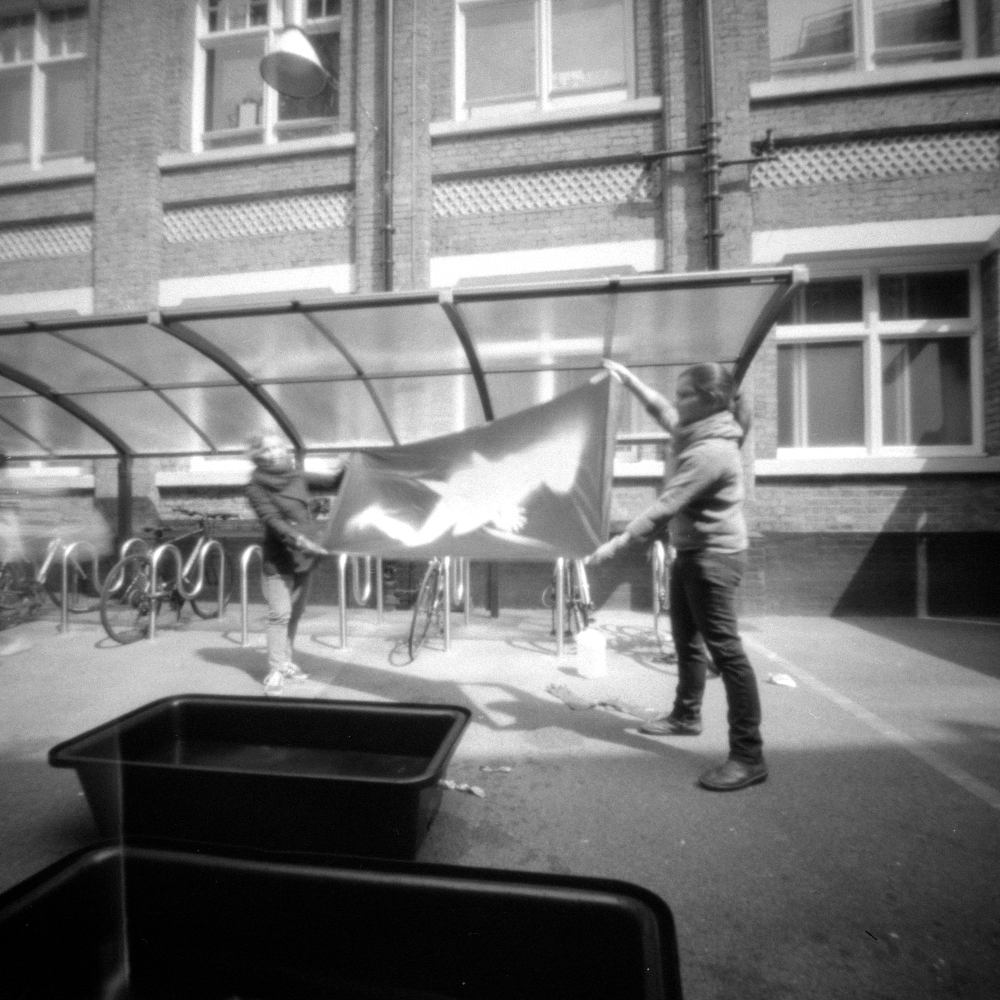
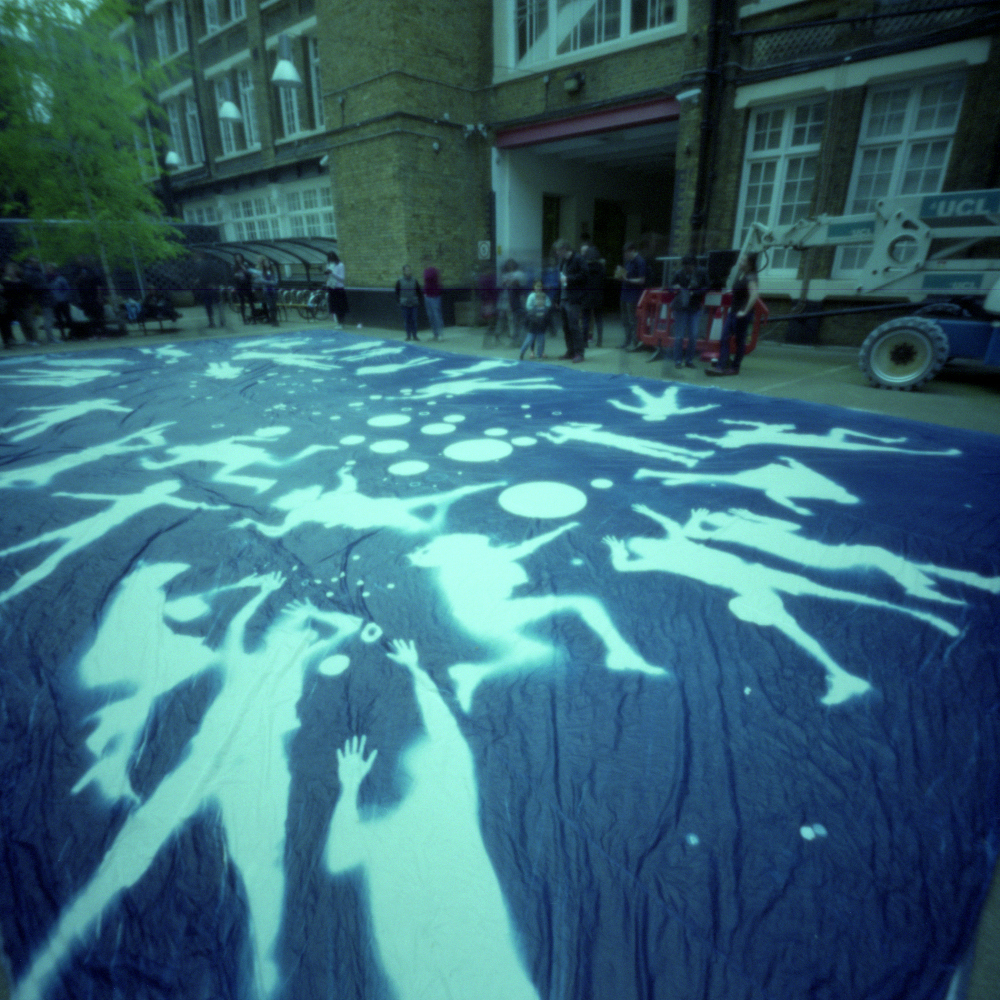
Prayer to the sun by Balazs Sprenc, licensed CC BY-NC-ND
The variables
As with any artistic process though, there are no strict barriers – elements of each of the three categories can be applied in the same image if desired. For example an initial part of the image can be formed by painting developer/fixer onto the paper using a brush. Once that is completed, a resist can be applied to the remainder of the paper and further developed/fixed. The chemigram technique could also be combined with regular photographic processes such as photograms / lumen printing at the artists discretion. There are an immense range of factors that can be varied to influence the resulting image. A non-exhaustive list would include
- Type of paper – resin, or fibre based, which manufacturer, which variety, fixed grade, or multigrade, etc. Any photographic darkroom paper ever produced is a candidate for use with the technique.
- Age of paper – if you have a box of expired paper from 1960, don’t overlook it. Since the chemigram is commonly created in broad daylight, fogged paper is not a problem to worry about.
- Type of resist – any product which will adhere to the paper even for a mere second, whether it be varnish, paint, masking fluid, honey, flour paste, egg, clay, butter, or wilder ideas
- Additions to the resist – no need to stick with the basic product – if honey is too thin, add flour or sugar to thicken it up. If the resist is too transparent to see, add some dye / food colouring. The resist sticks too well, mix it with something that’s more soluble.
- Application of resist – the resist applied with fingers, knife, brush, spray, stencil, roller, sponge, quill, etc. The tool used will affect the surface texture of the resist, which in fact can affect how evenly the chemicals penetrate the resist. For example, brush strokes left in the resist may transfer to the paper if the resist is porous to the developer/fixer.
- Resist drying time – the length of time a resist is left to dry will affect how easily it comes off in the chemicals. Leave it the minimal time to adhere to the paper, or until it is 100% dry and hardened, or anywhere in between. The harder the resist has set the slower the chemicals will penetrate it, giving more time to work the image.
- Ambient lighting conditions – while normal daylight is most common, a darkroom could allow for localized light exposure and/or combination with other photographic techniques. For example the paper may be initially contact printed, and then a resist applied over part of the image, letting the uncovered image fix immediately.
- Area of paper with resist – the resist does not have to be applied evenly to the entire paper. Specific areas can be covered by resists, or left uncovered.
- Damage to the resist – once coated the resist can be intentionally compromised to allow the chemicals to penetrate more easily. For example a knife can be used to cut through dried varnish. Or paper can be bent to crack the surface of hardened resists
- Chemical types – different brands or mixtures of developers and fixers have different effects on the tones exhibited by the paper. If regular dev is not doing what you like, you can even try lith developers.
- Chemical strength – more concentrated developer/fixer will speed up the process which may save time. Conversely less concentrated solution allow greater time to finesse the image
- Toners / dyes – as with any photographic print, toner / dyes can be applied to adjust the colour of the final print
- Time in the baths – the time spent in developer / fixer before switching to the alternate bath will determine how much time it has to penetrate the resist and bring out the tones of the paper. To get tones in between black and white, leave the print in the chemicals for less time, so the fixer/developer has not fully taken effect.
- Application of chemicals – the developer / fixer can be applied by dunking the prints in trays, or it can be applied directly to the paper using a tool, such as brush, sponge, etc. The latter would allow for much more localized control of the image formation.
Any analogue artistic process will result in unique works, but with some processes it is practical to create editions of work that are fairly close to identical. This is particularly true of techniques that involve an element of printing whether photographic or not. This is not the case with chemigrams, especially when resists are used. There is a very strong element of non-deterministic behaviour in the creation of chemigrams with the result that even if the exact same steps are followed each time, each final image is likely to be considerably different. There is little scope for creating an edition of identical prints in the strictest sense – at best you will get a family of related works, each with their own distinct character and qualities.

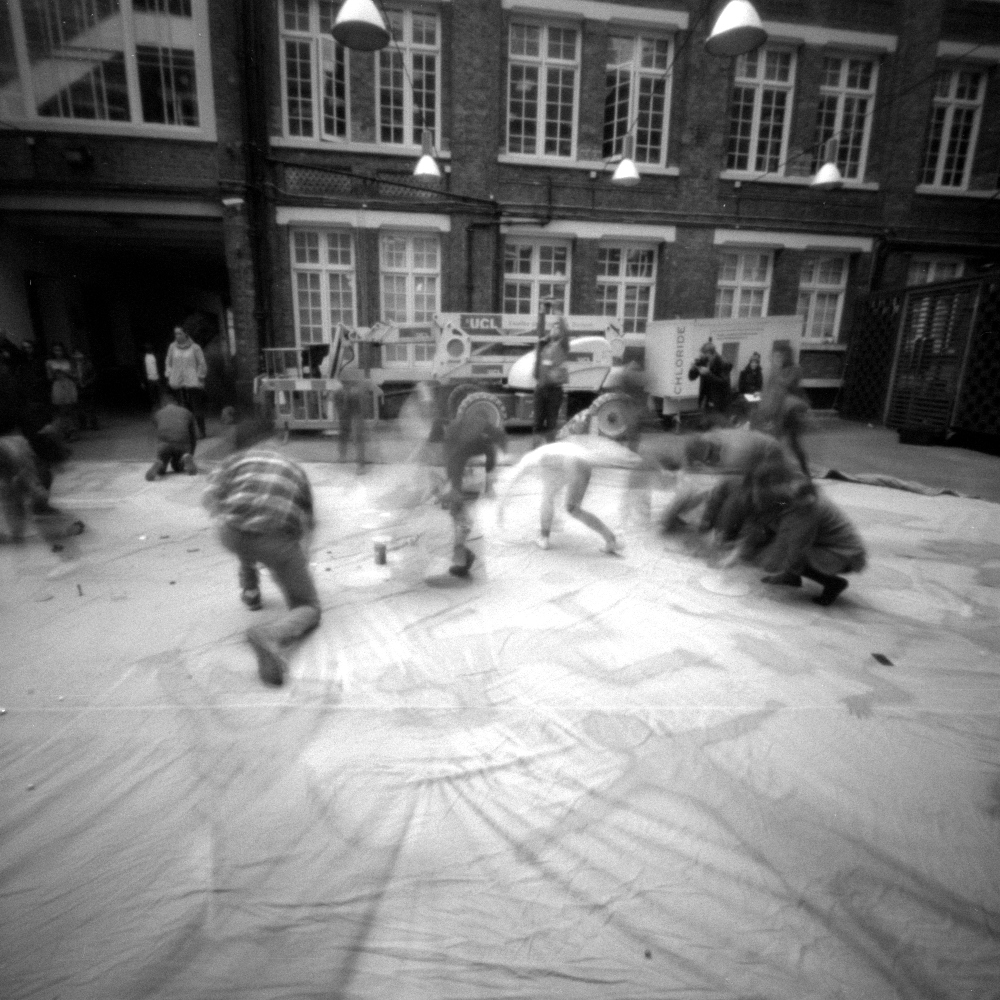
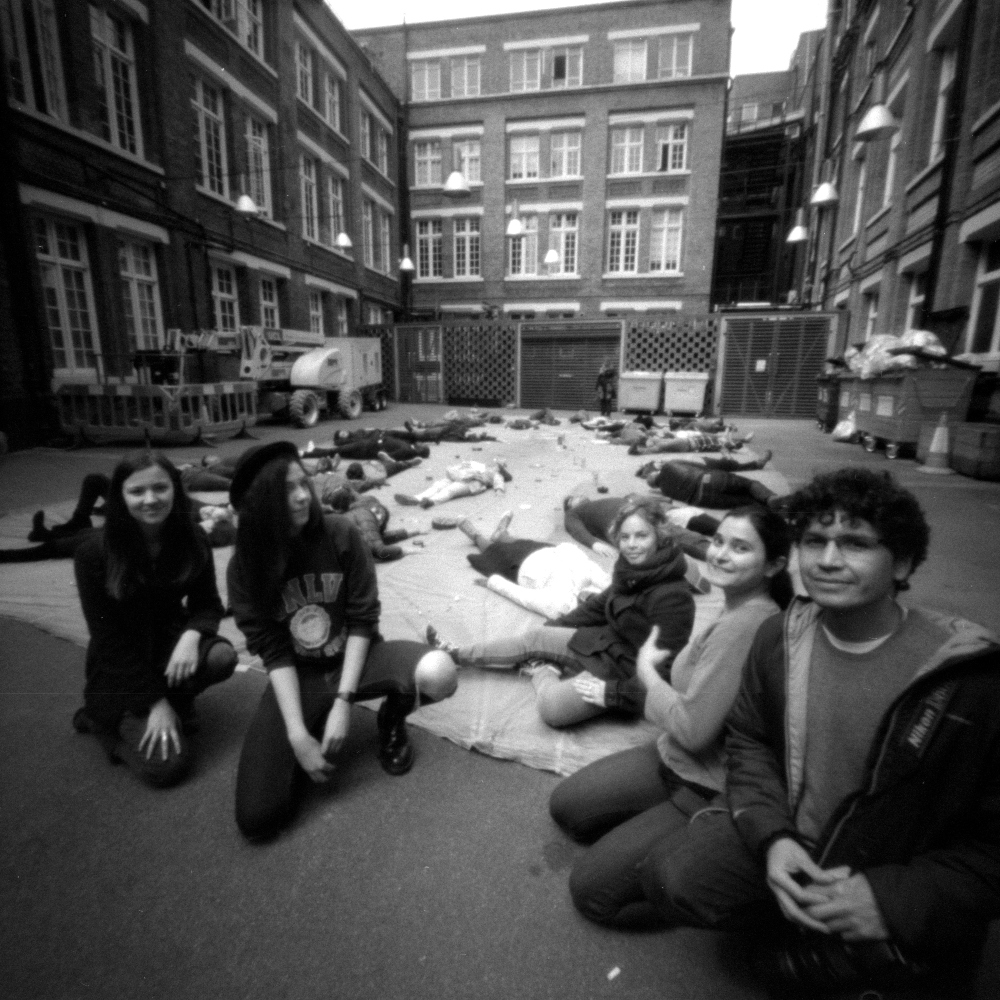
Draco, by Nate Lawson, licensed CC BY-NC-ND
The equipment
Getting started with the chemigram process is remarkably straightforward, with little equipment and no darkroom required. The minimal setup would consist of 3 darkroom print trays, a 1 litre measuring jug, a bottle each of black & white developer and fixer and a packet of black & white photographic paper. The print trays, jug and B&W paper are easily found on ebay, as many people are selling off old darkroom equipment for next to nothing – 15 pounds for all those items would be easily attainable. There’s no need to worry whether the paper is outdated, or fogged, as chemigrams are usually created in daylight. The developer and fixer can be obtained online from a couple of suppliers in the UK for no more than 10 pounds each for 1 litre bottles.
The process
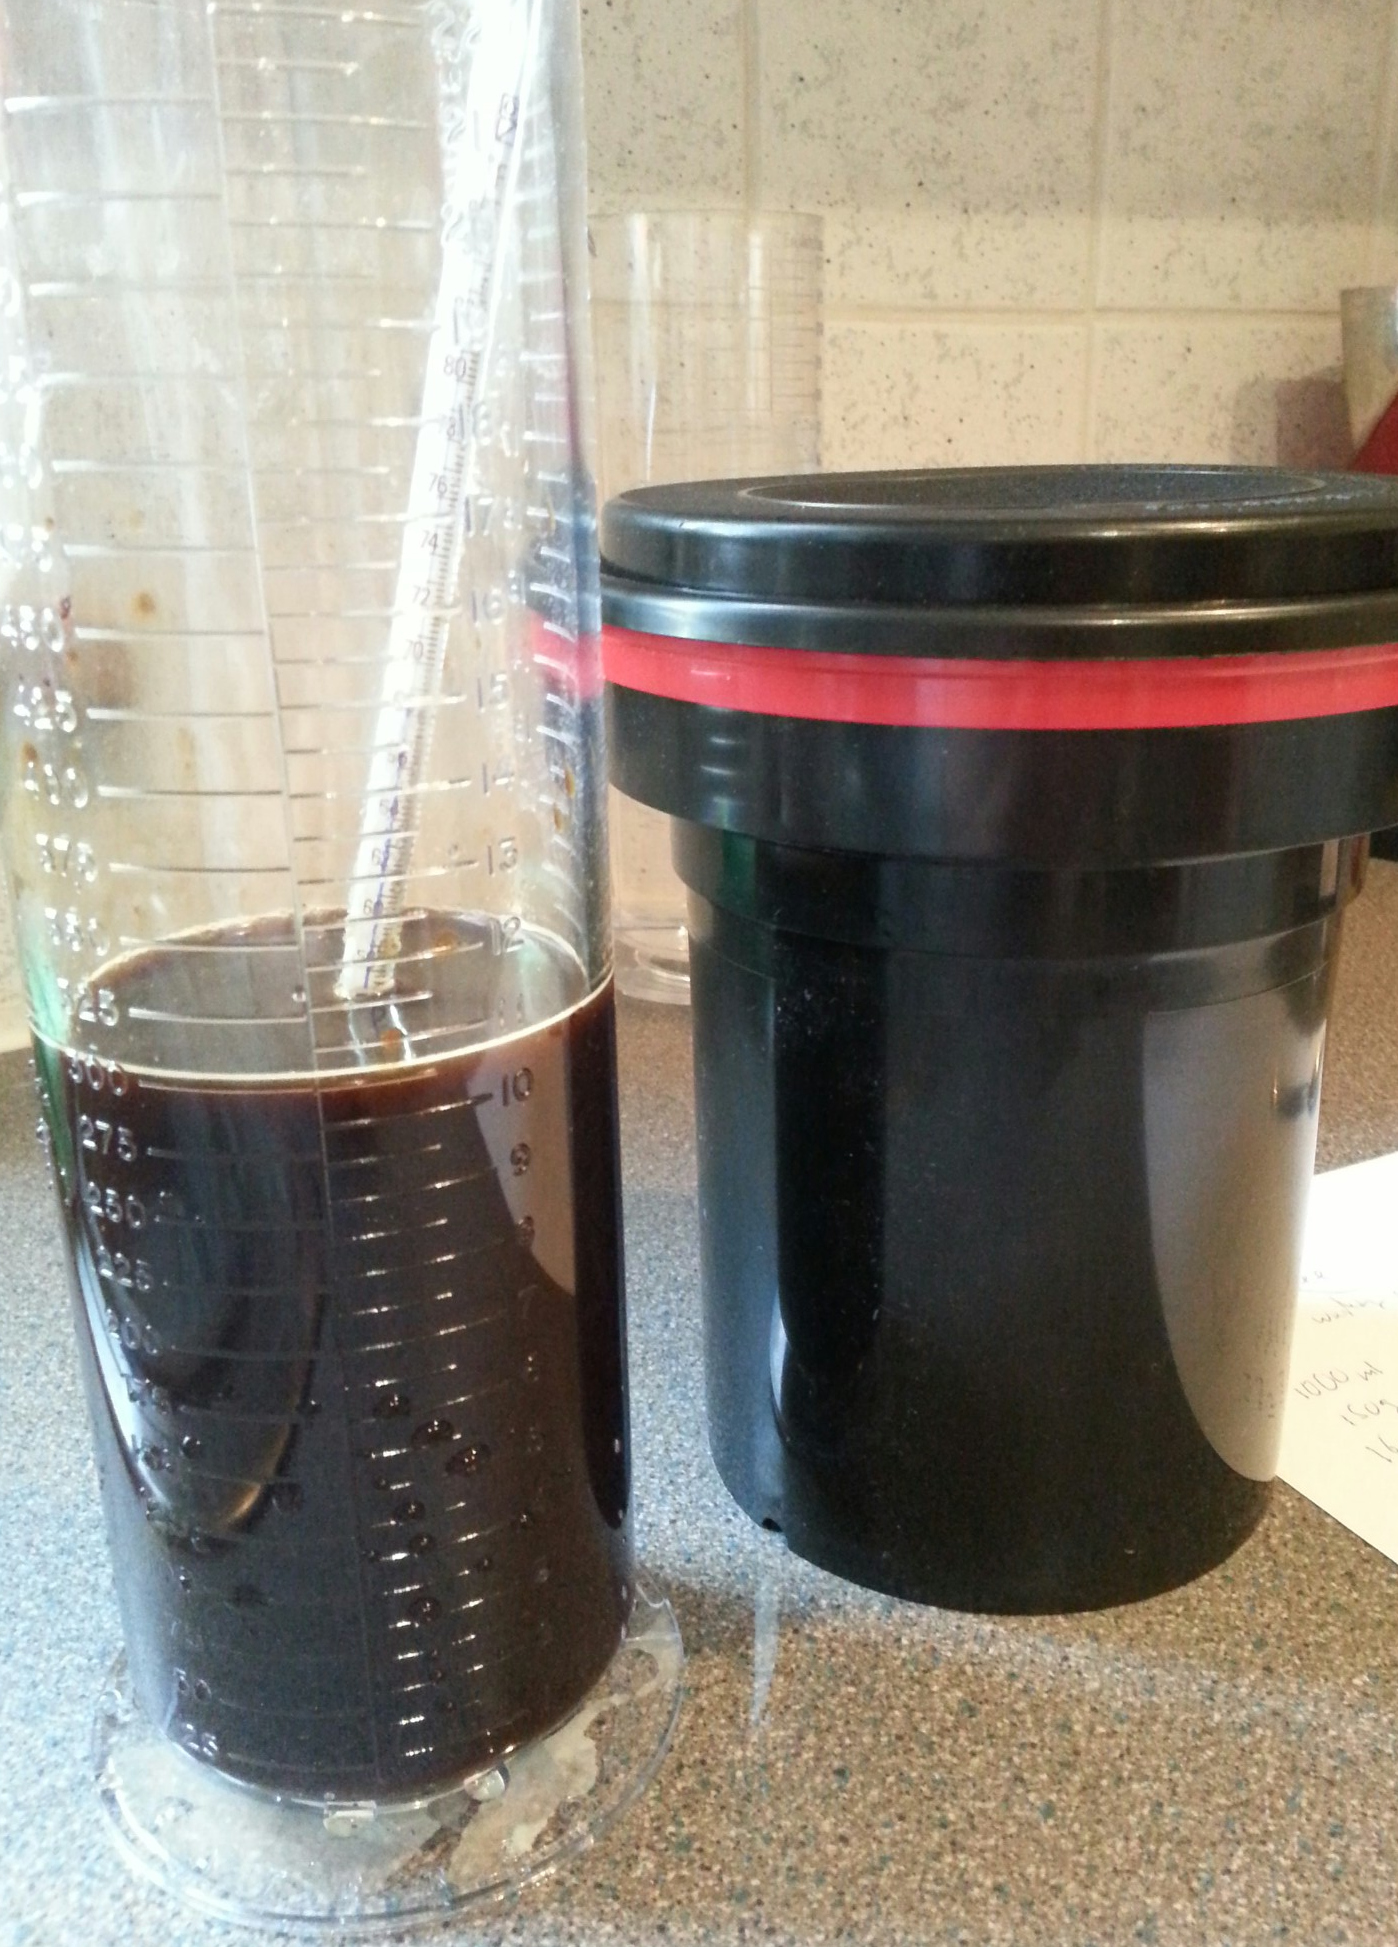
To start off mix up 1 litre of developer at the recommended dilution (typically 1:9) and pour it into one tray. Do likewise for the fixer and pour it in the second tray. Put a litre of tap water in the third tray. The temperature of the solutions in each tray should be approximately 20C but accuracy is not important for this process – changes in temperature will merely affect the speed of the process. One could use stop instead of water for the third tray, but again that isn’t too important – both the developer and fixer will get so badly contaminated with the residue from the resists that they’ll be disposed of before cross-contamination becomes a significant issue.
Assuming you intend to only ever use the paper for chemigrams, you can take sheets straight out of the lightproof black bag in daylight. If you ever want to use the pack of paper for real darkroom work though, make sure you have a changing bag or some other means of removing sheets of paper in the dark, to avoid fogging the remainder of the pack.
Take a sheet of paper and apply whatever product you wish to use as resist. A good place to start is with something that is soft, spreadable and sticky – thick honey, syrup or mustard. Coat the paper completely, or just partially, as you wish. Then place the paper into either the developer or fixer tray, again it doesn’t matter which. Let the paper soak for an arbitrary amount of time. If desired, physically rub away at the resist a little, or just let the chemicals slowly dissolve it. Then take the paper out of the tray and put it in the plain water tray to wash off chemicals. Once washed, put the paper into the other chemical, and again rub the resist if desired. Repeat this, switching between the developer and fixer each time. Either continue until all the resist has gone away, or stop sooner and just wash the remaining resist off the paper. When all resist has gone, put the paper into the fixer for a final time. With the final fix done, wash the print in a fresh bath of water for as long as is needed for the type of paper being used to remove all trace of chemicals.
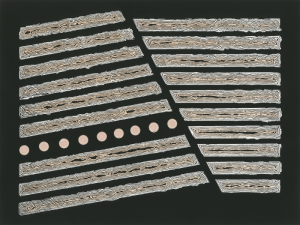
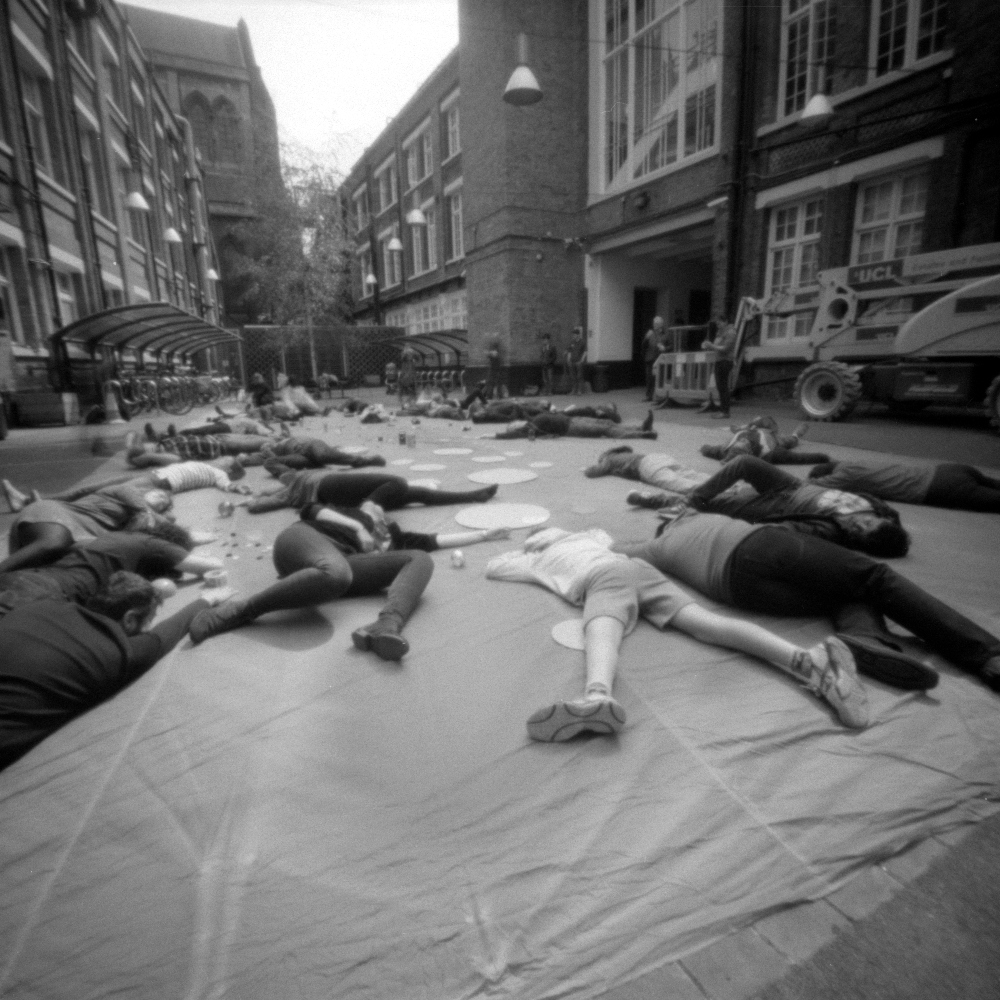
The story of nine dots, by Balazs Sprenc, licensed CC BY-NC-ND
The rest
A mentioned earlier, the process was pioneered by Pierre Cordier and he is still probably the most well known practitioner. There was a rare exhibition including some of his work at the Victoria & Albert museum in 2010/2011, for which there is an associated video worth watching online. For a range of articles looking at contemporary artists using the chemigram technique, the extensive nonfigurativephoto blog is worth reading.
The images in this posting are creative commons licensed chemigram works from a couple of flickr users. In the next blog posting I’ll present some of my own initial experiments with the chemigram technique.