Tag Archives: webcam

Building a Kodak Brownie digital camera

The Kodak Brownie was the first camera to really bring photography to the masses with a low purchase price. The simplicity of its design meant anyone could figure out how to use it with little difficulty – even by comparison with today’s cameras it is still easy to use, since it has essentially no controls to learn – just a shutter button, view finder and film winder. Millions of Kodak Brownies were made over the course of its 60 year lifespan, from 1900 onwards and the build quality & simplicity means many survive in good working order. The upshot is that a Kodak Brownie is a good option for custom modifications – easily available on ebay or in car boot sales, simple to hack and cheap enough that it doesn’t matter if things go wrong.

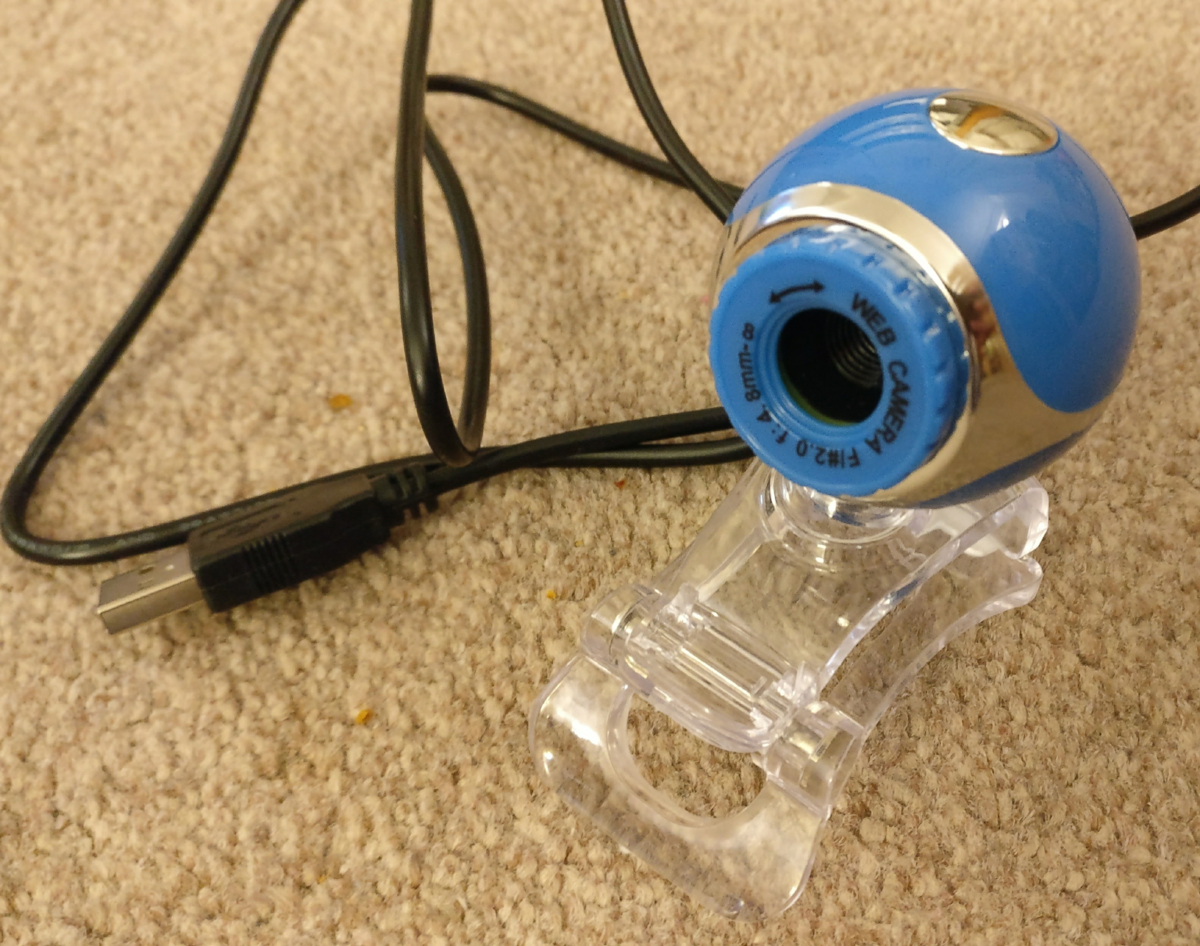
The original plan was to build a variant on my previous raspberry pi & webcam based pinhole digital camera, since I already had a second raspberry pi zero needing a purpose. A previous trip to the local carboot sale had yielded a Kodak Brownie Hawkeye for less than £5, which is the variant from the 1950’s with a case made out of bakelite instead of wood / cardboard. So the only key missing piece was a webcam. Since both the raspberry pi zero and kodak brownie had cost less than £5, that was set as the upper limit for obtaining a webcam. Trawling eBay listings found a number of sellers offering a variety of 50 megapixel cameras at this price point. These technical specs were clearly complete & utter lies – it was never going to be a 50 MP sensor for that price – but at the same time it was worth a punt to discover just what the cameras did offer. I first one I obtained turned out to provide 640×480, or a mere 0.3 MP with raw video only, no mjpeg, thus limiting the framerate too. IOW pretty awful, but only marginally more awful than expected. The plus side was that the case was easy to remove exposing a very compact circuit board which would be an ideal size for embedding.

The “50 megapixel” eBay webcam, which turned out to be 0.3 megapixels, prior to removing the case

Upon testing the webcam with an improvised pinhole plate, it was clear that the sensor had unacceptably poor low-light performance. While it could serve as a pinhole camera, it would only be usable outside in bright conditions. I wanted to build a camera that was more versatile, so the plan was changed to build a “normal” digital camera instead of pinhole digital camera.

With the key parts obtained, design and assembly could begin. An initial approach was to keep the Brownie’s original lens and position the bare webcam sensor behind it. To achieve sharp focus, the sensor would have to be placed at the same position that the film would be relative to the lens. Each film negative, however, was 60x60mm in size, while the webcam sensor was less than 5x5mm. Testing confirmed that the webcam would have an incredibly narrow field of view, making it near impossible to compose shots with the crude viewfinder mirror.

The alternative was to disassemble the Brownie and remove its own plastic lens. The webcam circuit board could then be positioned such that its own lens was would be right behind the shutter. The circuit board was just a few mm to large to fit into the required position, so a dremmel tool was used to carve a slot in the inside of the case, allowing the circuit board to slip into place.
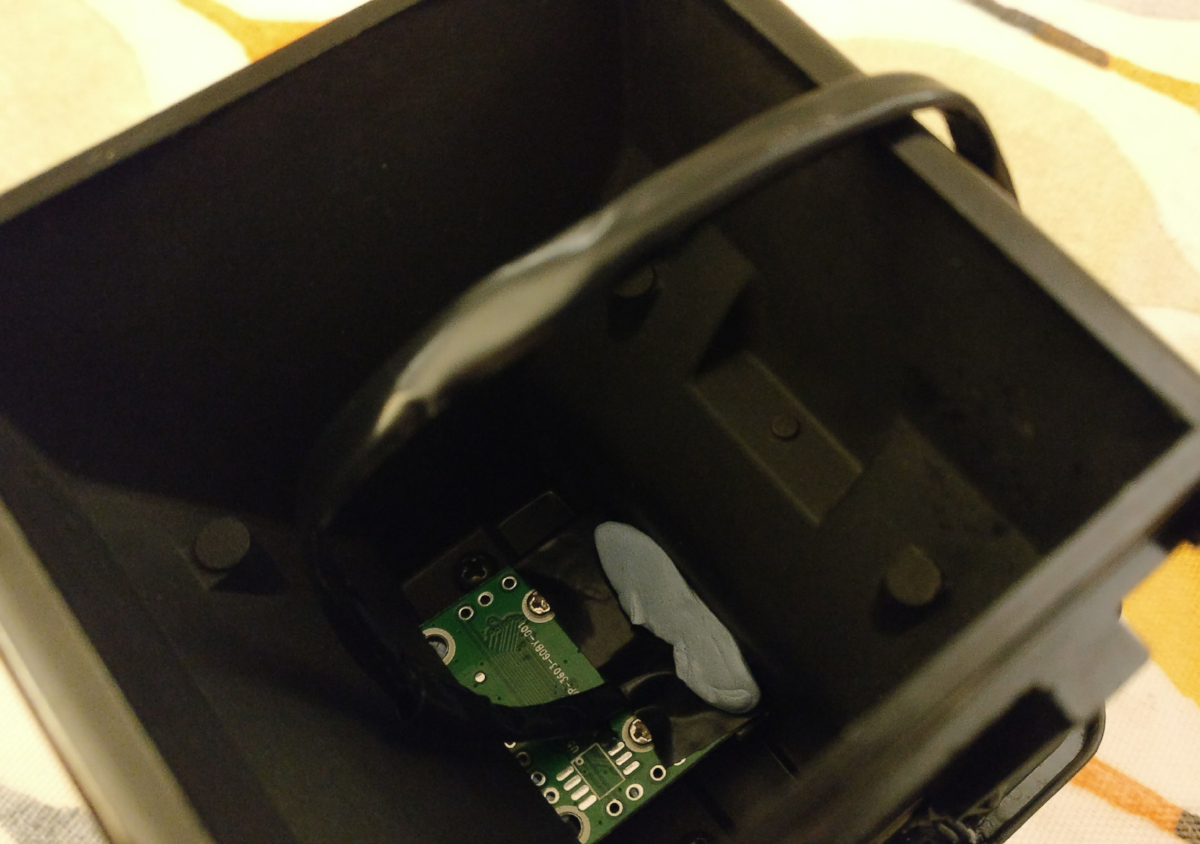
The interior of the Kodak Brownie, showing the circuit board in place immediately behind the lens. The circuit protrudes through a slot cut in the wall and held in place with bluetak.

This allowed the webcam to have a field of view similar to that of the original Brownie. In fact the field of view was wide enough that it covered the entire shutter aperture so the resulting images showed a circular vignette.
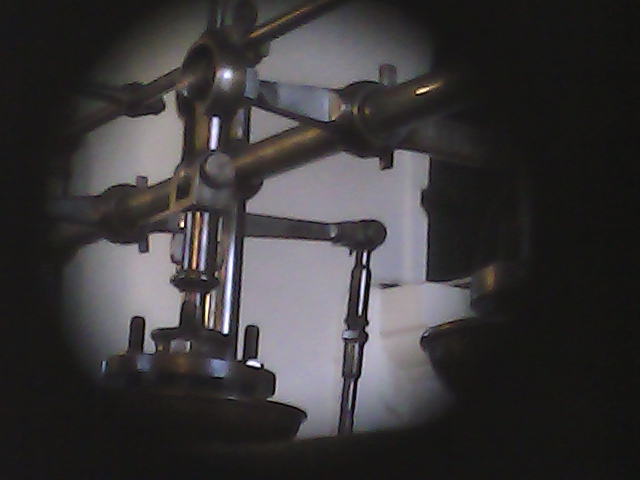
Still image captured by the webcam when behind the Kodak Brownie lens. The sensor field of view expands beyond the maximum size of the shutter aperture

The second task was deciding how to position to Raspberry Pi Zero in the case. As luck would have it, the width of the Pi Zero is exactly the same as the length of a 620 film spool, so the film holders were able to grip the Pi Zero circuit board. In common with the previous pinhole webcam, two LEDs were to be used, one illuminating when the power is on and one illuminating when the webcam is capturing an image. Two small holes were drilled in the top of the Brownie case next ot the shutter button, through which the LEDs could poke. A spot of superglue held the LEDs in the correct position.
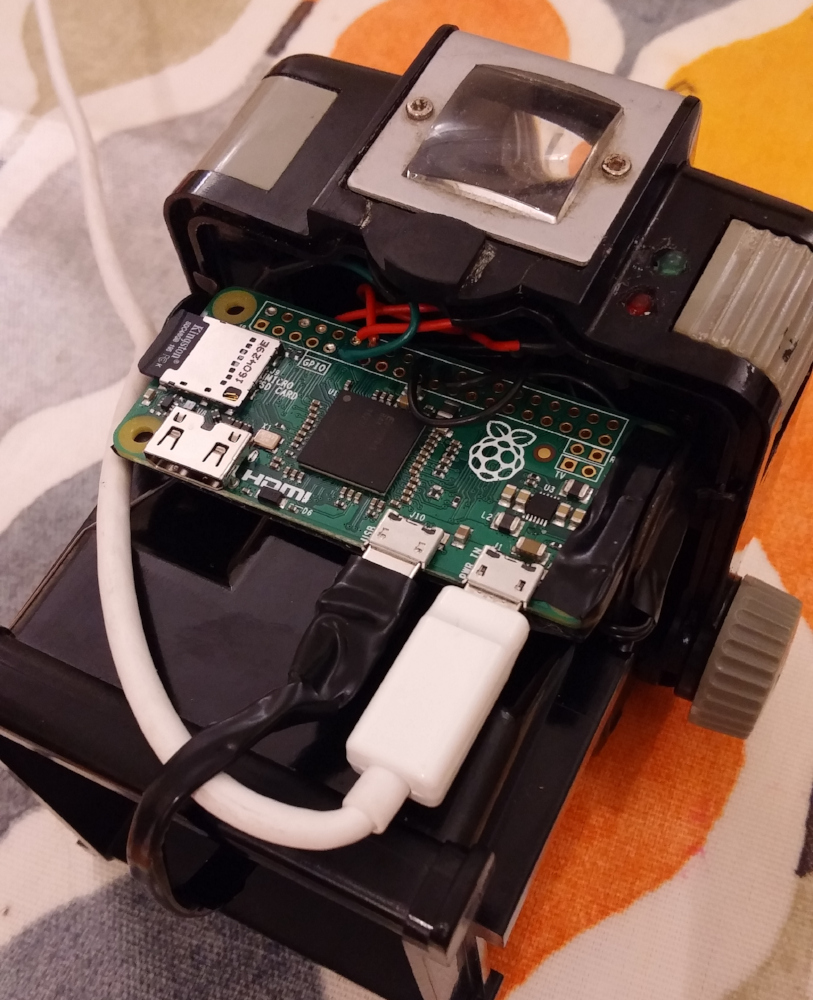
Inside of Brownie case showing the Raspberry Pi Zero board, USB power cable and LED status indicators

One of the key goals for the camera design was that the shutter button on the Kodak Brownie should be used to trigger image capture on the webcam. Ideally a single press of the shutter button would capture a single image. To achieve this, the mechanical shutter button needed to interface with the Raspberry Pi GPIO pins in some manner. After thinking about this tricky problem for a while, a solution involving a pair of bare wires and some conductive paint was conceived. One wire would connect to a programmable GPIO pin configured as an input in pull-up mode. The second wire would connect to a GPIO ground pin. A hole was drilled through the case coming out immediately below the shutter button, through which the wires could pass. Insulation was stripped off the wires and they were superglued in position below the shutter button. Finally a blob of conductive paint was applied to the underside of the shutter button. The result is that when the shutter button is pressed, the conductive paint shorts out the two wires, pulling the GPIO pin to ground. This change can be detected by the Pi Zero and used to trigger the shutter.
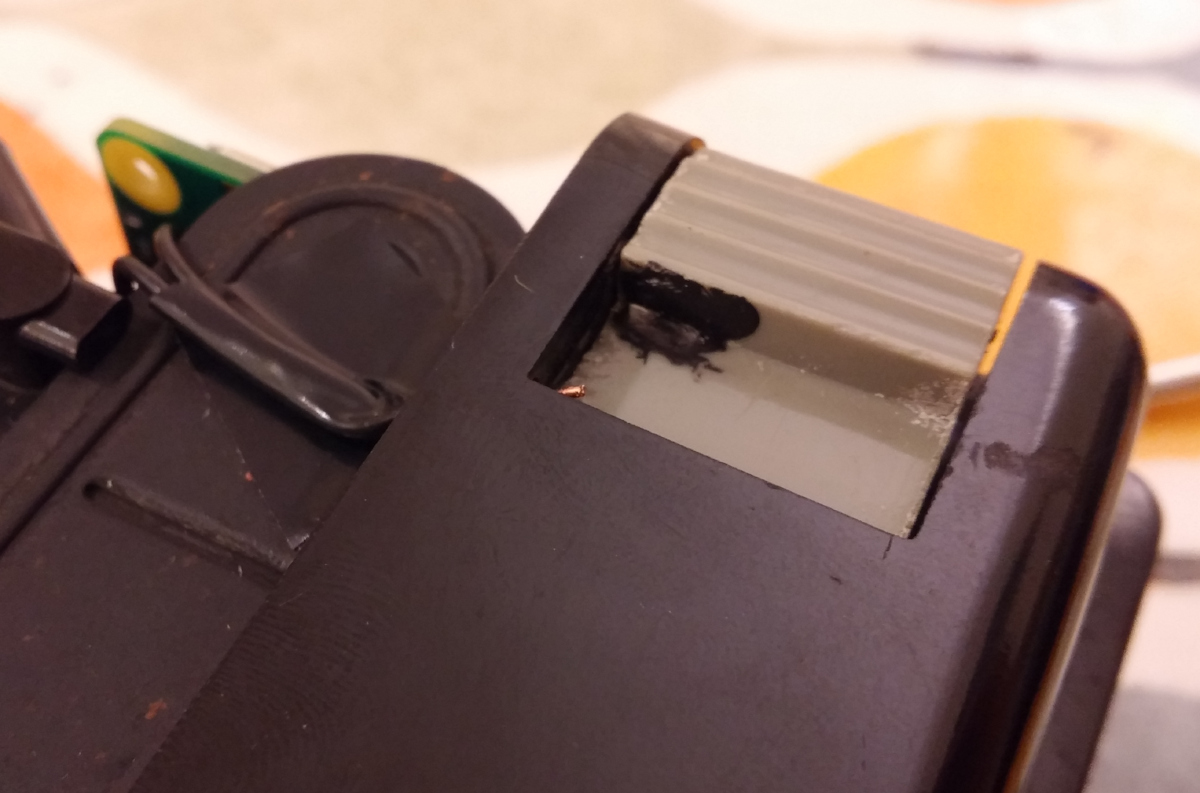
Shutter button on the Kodak Brownie, showing a blob of conductive paint, used to short circuit wires used to trigger webcam capture

The Brownie shutter mechanism is designed for film with a fixed shutter speed. It was not practical to synchronize image capture with the precise fraction of a second that the shutter was open. Fortunately the Brownie has a long exposure mode where the shutter remains open for as long as the shutter button is pressed. Normally this long exposure mode is activated by raising a second button on the Brownie, but this is somewhat tedious. A little bit of electrical tape applied to the shutter mechanism was able to hook it into permanent long exposure mode.
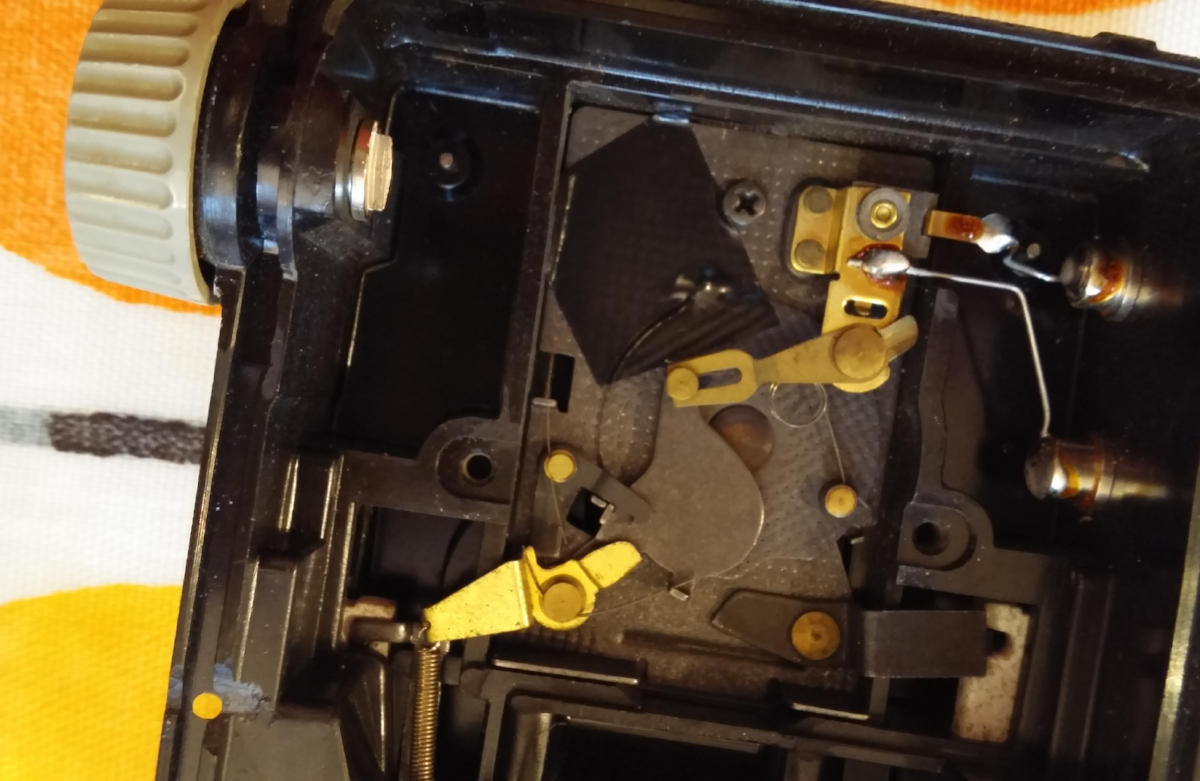
The Brownie shutter mechanism with spot of electrical tape used to fix it in long exposure mode permanently.

Testing of the shutter mechanism was revealed a small problem – the webcam takes  a second or two to automatically measure & adjust exposure to suit the lighting conditions. The result was that if an image was captured immediately after pressing the shutter button, it would often be totally underexposed. This prompted another slight change in design. Rather than capturing a single image immediately as the shutter is pressed, the software was written to wait a second after shutter press and then capture images continuously thereafter, one per second, until the shutter was released. IOW, it would be a timelapse capture device.

The only remaining task was power. The Pi Zero and webcam combination has very low power requirements, at most 200 milliamps, and it was already known that a USB lithium ion powerpack provides an excellent power source that lasts a really long time. The problem is that for most powerpacks on sale today, physical size is not a hugely important factor. To date it has been impossible to find one that is small enough to fit inside the Brownie case – it would need to have a longest dimension of 6cm to stand a chance of fitting once the USB cable is plugged in – 5cm would be even better. Having the battery inside the case also adds a requirement to put a physical power switch between the Pi Zero and the battery, unless you want to open the camera to turn it on/off every time. The simple solution was thus to just drill a hole in the case for the USB cable, leaving the battery on the outside.

Finished Kodak Brownie digital camera showing cable to external battery pack

With the hardware construction complete, attention turned to the software to control it. Rather than start from scratch, the previous code used for the pinhole webcam Arcturus, was used extended. First it was discovered that the cheap webcam didn’t provide MJPEG capture, which meant pulling in libjpeg to do encoding of the raw frames into JPEG still image files. Capturing images in raw format means the USB device has to transfer far larger quantities of data. While this wasn’t a problem on the laptop used for development, the raspberry pi was continually getting dropped / incomplete frames from the webcam. After countless hours debugging, the problem was discovered to be the driver for the USB controller in Linux mainline, used by Pignus (the Fedora fork for the Raspberry Pi arm6 borads). The Raspbian kernel by comparison has an out of tree driver for the USB controller which turned out to work fine. The remaining software changes involved wiring up support for using the shutter button to trigger capture via a GPIO pin. The end result was that upon pressing the shutter button it would capture still images continuously, 1 per second. After a sufficiently long series of stills had been captured, they could be turned into a timelapse video sequence.
Planetary astrophotography on a low budget

This posting talks about the key equipment needed to do planetary astrophotography on a low budget. For deepsky astrophotography on a budget, a barndoor mount is a better starting place.

One of the first surprises when learning about planetary astrophotography is that you don’t actually want to capture images. Instead, standard practice is to capture videos of the objects in question, a minute or more in length. These are then processed with a variety of applications to produce an image that is far higher in quality than what you could get if you tried to directly capture a still image. So in terms of equipment, what is needed is a telescope and a video camera of some kind.

The Camera (Modification)

There are plenty of video cameras designed explicitly for astrophotography, able to capture either monochrome or full colour images. For a monochrome camera, coloured filters are used to enable separate videos to be recorded for each colour channel. Dedicated astrophotography cameras are at least £100, often much, much more. As a beginner it is hard to know what will be the choice to start with and even whether the interest in astrophotography will stick. The low cost route is to thus go DIY, which involves taking a regular computer webcam and modifying it to make it suitable for astrophotography. There is an enormous selection of USB web cams on sale in the shops, and an even bigger selection second hand on eBay. Some are more suitable for astrophotography than others, so it pays to do a little research on the forums to figure out which have proved effective. Almost every forum thread on the matter will at some point recommend the Philips Toucam, but these are long since discontinued and postings on eBay sell for an unreasonable amount of money.

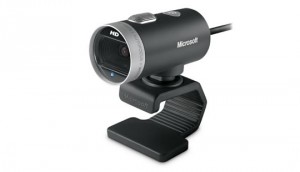
A little research, suggested that the Microsoft Lifecam Cinema HD is a good contender, and can be had on eBay for as little as £20. This is capable of capturing at a resolution of 1280×720, which is actually higher than many dedicated astrophotography cameras. It is worth pointing out though, that resolution is not king as the individual pixel size, low light sensitivity and noise characteristics all have a huge impact on the end result. The appealing quality of this particular model were the detailed instructions Gary Honis has written about the modifications needed to make it suitable for astrophotography. The images of Jupiter he posted give an indication of what the camera is capable of. Incidentally his website is a fountain of knowledge when it comes to astrophotography camera modifications.

Microsoft Lifecam Cinema HD, as sold

Microsoft Lifecam Cinema HD, as sold

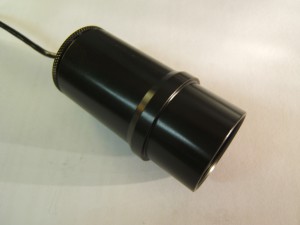
In essence the mod requires stripping off the case to expose the camera assembly and circuit board, followed by very careful surgery to remove the lens and infrared filter, thus exposing the bare CCD chip. Part of the case is then re-attached before fitting it into a 1+1/4″ cylindrical case the same size as a telescope eyepiece. Gary used a pair of eyepiece extension tubes, but the UK company Billet Parts sells a plastic case custom designed & machined for astrophotography mods of the lifecam cinema. If there website shows out of stock just email them and they’ll produce another batch. Highly recommended, as it comes with a dust cap too.

Microsoft Lifecam Cinema HD, modified

Microsoft Lifecam Cinema HD, modified

One final point is that the CCD chip is sensitive to infrared and the built-in IR filter was removed during the modification. So for doing normal colour imaging of planets, a replacement IR filter will be required. Any standard 1.25″ eyepiece filter can screw into the custom billetparts case, and suitable 1.25″ IR filters can be had for about £20-25 online.

The Capture Phase

With the camera chosen (or built), the first actual step in producing an image is to capture a video. When targetting Jupiter, it is generally recommended that video captures be no more than 2 minutes in length, otherwise features will begin to suffer from motion blur due to its high speed of rotation. If capturing the 3 colour channels separately with a monochrome camera & filters, that means each individual channel is limited to no more than about 40 seconds (and that assumes you have a filter wheel for fast changes). When targetting the Sun or the Moon, it isn’t necessary to worry about rotational speed of the target, so videos can be as long as desired.

For video capture on Linux, the open source program guvcview offers full control over all the camera settings and the video codecs used, which is an important requirement for astrophotography. Maintaining maximum possible detail/quality in the initial video is key to being able to bring out good details in the final image. Critically, transcoding the video from one format to another is to be avoided, as this will usually loose information. The goal is thus to capture in a format that the video stacking application will be able to read directly. The best choice is thus an AVI file, ideally with raw uncompressed codec, or failing that something common like MJPEG. Before going out at night to capture something important, do a quick test capture of 15 seconds and try to load it into the stacking program you intend to use, to verify that it can indeed understand the codec you chose. Using raw uncompressed video results in massive file sizes even for a 60 second capture and may have a lower maximum frame rate; MJPEG is inherently throwing away detail so can compromise the final image quality but allows for higher frame rates. The frame rate is fairly important as the more frames that can be stacked the better the final image will typically be. Pick your poison.

Accurate focusing of the telescope is also a very important factor when capturing the videos. Slight mistakes in focusing can really badly impact the final result. It is worth investing in a focusing aid like a Bahtinov mask for your telescope instead of trying to judge it by eye. While you can make your own, another UK company Morris Engraving produces high quality masks from toughened black acrylic, custom designed for every telescope you’re likely to need, at a very reasonable price on eBay. Again, highly recommended.

Bahtinov Mask

Bahtinov Mask

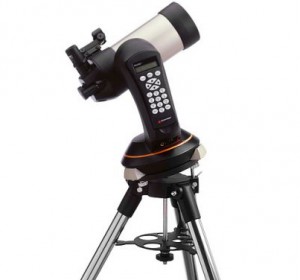
I am using a Celestron Nexstar 4 GT telescope, which is a Maksutov Cassegrain design with 4″ / 102mm diameter lens and 1398mm focal length, giving approx f/13 aperture. The long focal length is quite good for planetary imaging & observing, but makes it fairly poor choice if deepsky imaging is your plan (a fast refractor is a better choice for deepsky). The equivalent model sells new for about £500, but I got mine second hand from a friend for considerably less.

Celestron Nexstar 4 GT

Celestron Nexstar 4 GT

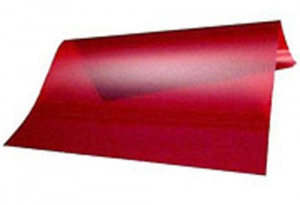
The final piece of equipment is of course a laptop, which presumably most people have access to. Laptops screens are optimized to work in pretty bright ambient conditions, so their screens are correspondingly bright. Upon taking a laptop outside at night it quickly becomes obvious that the screen is far too bright, even on the lowest brightness setting. This totally ruins night vision adaptation and will be very annoying to any other astronomers near by. The solution is to place a piece of red acetate film over the screen which reduces the brightness to a level which does not negatively impact night vision adaptation. Some astronomy shops sell this pre-cut to the size of your laptop screen at vast expense. The secret to getting a deal is to know the word “Rubylith”. Type this into eBay and many vendors will appear offering the perfect material for the purpose. It is also suitable for use as safe-light protection in photographic darkrooms. A sheet for £4.99 was large enough to cover a large laptop, a small netbook, a smartphone and a little left over to make a red light torch.

Rubylith

Rubylith

Summary

To summarize the key pieces of equipment for doing planetary astrophotography on a low budget are

  • Microsoft Lifecam Cinema HD – £20 from eBay
  • Lifecam eyepiece adapter case – £16 from Billet Parts
  • 1.25″ IR blocking/cut filter – £20 from eBay or other sources
  • Bahtinov mask – £15 from Morris Engraving via eBay
  • Rubylith sheet – £5 via eBay
  • Laptop – any that can control the webcam.
  • Telescope with tripod & mount – almost any, but Cassegrains are a good option for Planetary use. £200-300 for a second hand Nexstar 4, or £300-£350 for a brand new Skywatcher 127 which is a real bargain for what it provides – pretty comparable to the Nexstar in what it provides. Or pick from 100’s of other possible scopes.

The setup described above is suitable for imaging The Sun, to capture sunspots, but it is MANDATORY to have a protective filter in front of the telescope. These can be built using a sheet of Baader Astrosolar Safety Film for approx £20. For carrying all the kit around, skip the official cases and adapt a regular sports / holdall bag.

For a selection of the photographs I’ve produced using this setup, browse the ‘lifecamcinema’ tag on my Flickr profile