One can be forgiven for thinking that photography with pinhole cameras would be easy, because there are essentially no settings to worry about beyond the exposure time. On the surface this is indeed correct, but when considering all the aspects of a camera & lens that a photographer uses to influence an image, it becomes apparent that pinhole photography will in fact be quite challenging. The lack of camera controls places a much greater emphasis on the photographers’ understanding of the camera’s way of seeing and positioning to ensure effective composition. This piece of writing examines some of the challenges faced when trying to effectively use pinhole photography, specifically considering the ZeroImage 2000 camera
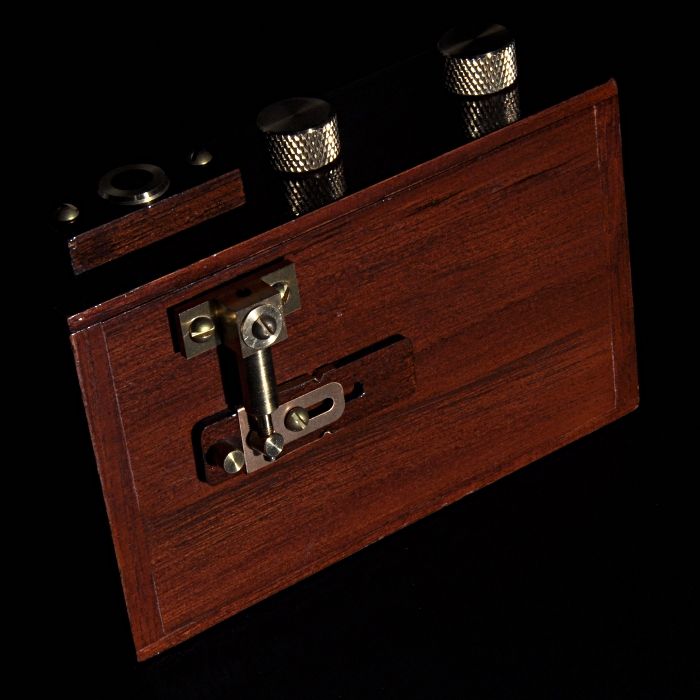
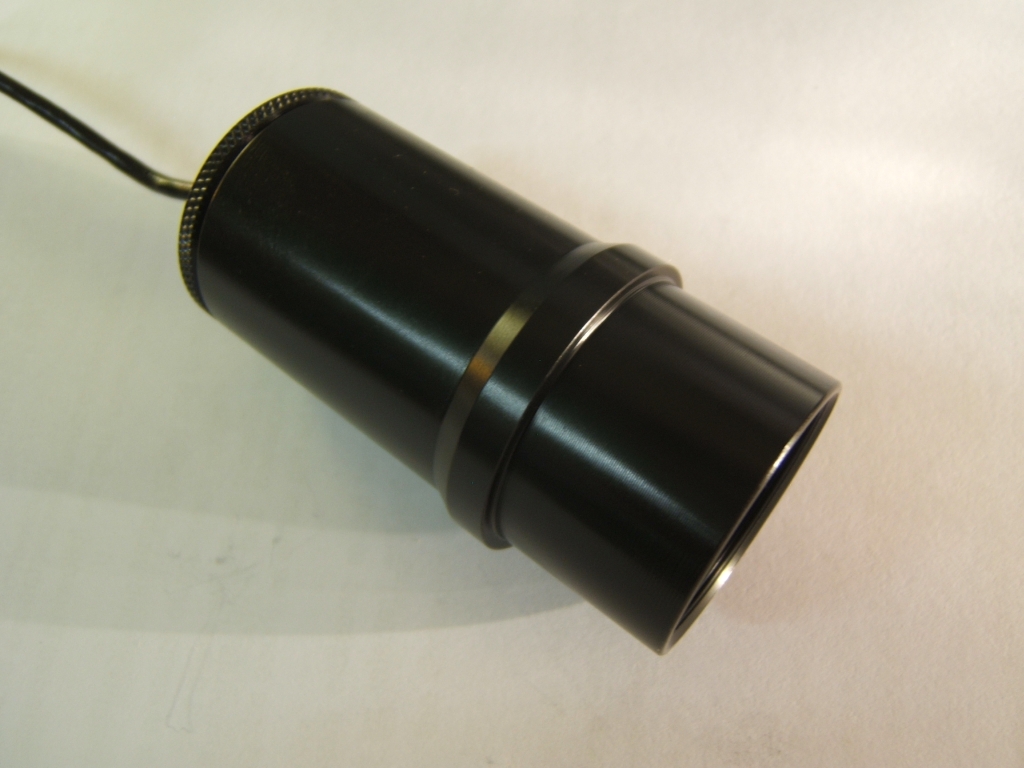
The teak and brass ZeroImage 2000 pinhole camera, includes a film counter window, tripod socket, spirit level, cable release mechanism and circular exposure chart as its only “features”. It exposes onto 120 roll film, giving 6×6 cm images
With mainstream photography, a number of technical aspects of the camera & lens will influence the composition and stylistic qualities of the final photograph. The focal length of the lens determines the field of view, the sense of depth between the foreground and background regions of the image and the range of depth of field lengths. For example, a long focal length has a narrow field of view and flattens the perspective in the image – often referred to as background compression. The focal point of the lens serves to draw the eyes’ attention to specific regions in the image. For example, when taking a portrait the focal point will be the subject’s face (more specifically, the eyes), often with the aim that anything except the face gets blown out of focus. In addition to controlling how much light reaches the sensor/film, the aperture of the lens serves to determine the depth of view either side of the focal point. The shutter speed also affects the amount of light reaching the sensor/film, but importantly also controls how movement is represented in the image. This applies to both movement of the photographer (aka camera-shake) and movement of the subject being photographed. The ISO sensitivity of the camera (or film) determines how much light is required to form an image on the sensor (or film), at a given aperture.
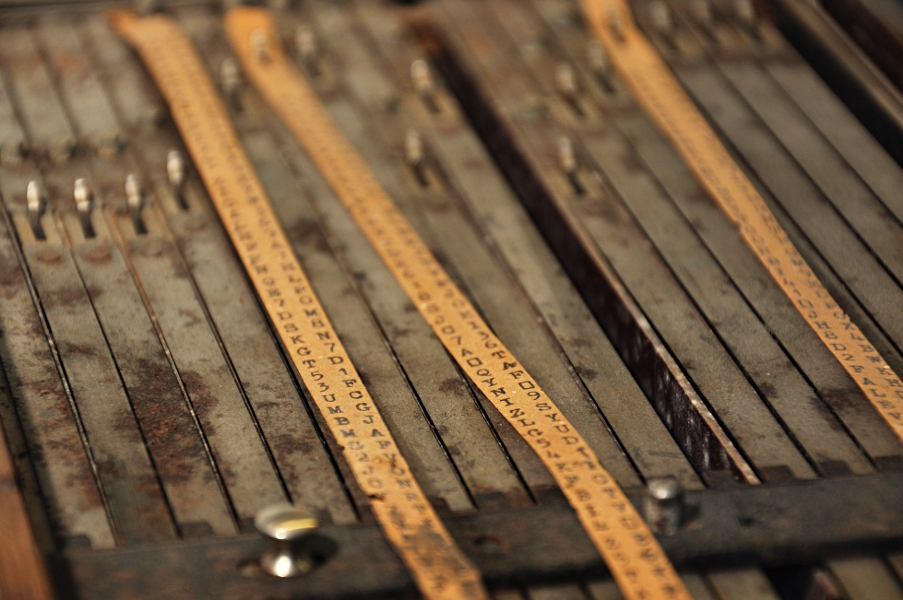
A wide open aperture creates a narrow depth of field, removing distractions in order to draw the eye to the writing on the message tape.
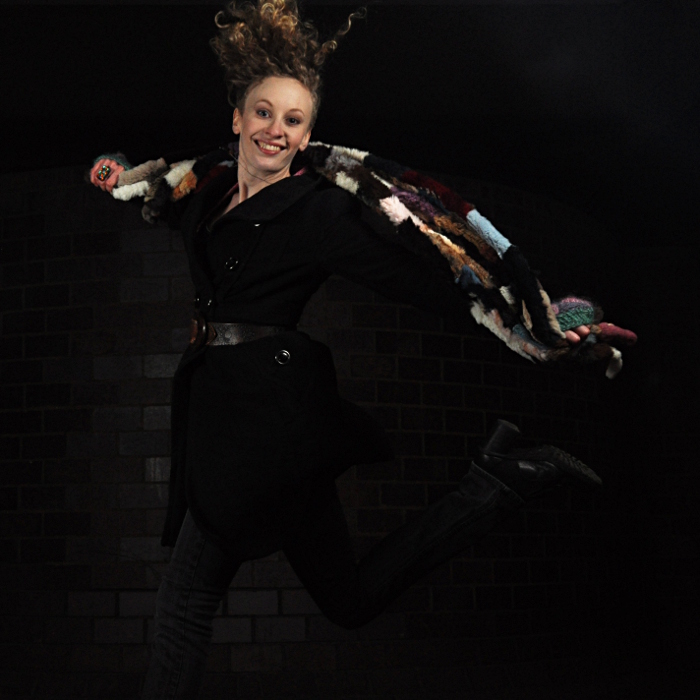
A small aperture & high shutter speed, coupled with off camera flashes allow the jumping model to be frozen in space, while also avoiding illumination of the background
The photographer (or more commonly these days, the computer inside the camera) must carefully decide on the trade-off between focal length, focal point, aperture, shutter speed and ISO to achieve the desired stylistic effect in the captured image. For example, a wider aperture allows for shorter shutter speeds, reducing effects of camera shake, but at the cost of a narrower depth of field. A pinhole camera, however, removes most of these options from the photographer’s control. The focal length, focal point and aperture will all be fixed by the physical construction parameters of the camera. In the case of a pinhole, the focal length is the distance between the pinhole and the film plane / sensor, and is usually of the order of a few centimetres. Given the size of a pinhole opening, the aperture of the camera ends up being very small – easily f/100 or more. As a result the depth of field of pinholes cameras can be essentially thought of as infinite. This does not mean that the resulting image will be sharp throughout – other factors conspire to introduce blurring of the image, such as diffraction effect on different wavelengths of light.
From very near, to far, everything is at roughly the same level of sharpness due to the “infinite” depth of field of a pinhole
For a photographer the result is to remove several commonly used techniques for effecting the stylistic qualities of the image. In particular it is no longer possible to use focal length to position the sharpest spot on the main subject of the scene – e.g. the face in a portrait. Nor can aperture be used to control the depth of field, to throw distracting backgrounds out of focus. The only camera “settings” open to the photographer are the shutter speed and the ISO sensitivity. With digital pinholes these can be chosen for each shot, but with film pinholes the shutter speed is effectively fixed for any given lighting conditions, by the choice of film loaded into the camera and the small fixed aperture. With film pinholes, exposure times will usually be on the order of 1 second or more due to limited ISO range of film, but modern high end digital cameras with their extended ISO ranges can still offer short exposures.
The extents of the image
What is left that the photographer can use to influence the captured image? Their legs and their arms. By that I mean they can walk around to choose the physical position of the camera and then adjust the direction in which it is pointing. Even this task is complicated by the fact that most pinholes lack any kind of viewfinder capability. Digital pinhole users have the advantage of instant review of captured shots. All is not lost though, as if one knows the film/sensor size and the focal length (pinhole <-> film/sensor distance), it is possible to calculate field of view of the camera using a simple formula
field of view == 2 * arctan (film size / (2 * focal length))
Armed with this knowledge it should be possible to visualize the extents of the scene that the pinhole camera will capture. Indeed the ability to visualize this should be considered essential, if the photographer wants to turn pinhole photography into a reliable tool or art form. Without this knowledge & visualization, the results will be unreasonably influenced by an element of chance. Luck of composition, or lack thereof, is the primary reason why many photographers (incorrectly) consider pinhole photography to produce “crap” results.
For my ZeroImage 2000 pinhole camera with film size of 60mm and focal length of 25mm, the above formula works out to define a field of view of approx 100 degrees. This is just 10 degrees more than a right angle, so an effective way to visualize the extent of the scene when shooting is to stand behind the camera and hold out your arms so they form a little more than a right angle with each other. Each arm will thus point to the left and right borders of the final image. One can imagine drawing/engraving sighting lines on the sides of the camera to allow the horizontal and vertical extents to be more accurately aligned with the desired subject. With this knowledge the photographer has the ability to reliably compose pinhole images, without needing to have any optical view finder or LCD screen preview available.
Of course there is still the question of what part of the scene should be included in the photograph. The 100 degree field of view is roughly equivalent to that seen with a 15-17mm lens on a traditional full-frame 35mm SLR camera. This is very wide indeed and experienced photographers will understand that this has a significant effect on image composition. So much of the scene is included that the main subject can easily end up very small. Somewhat counter-intuitively, the way to deal with a wide angle lens is often to get closer to the subject, much, much, much closer, so you take in less of the scene.

The London Eye is an enormous wheel on the south bank of the Thames. With a 35mm camera it would easily fill the frame with a standard length lens. Using a pinhole camera though, it only fills 1/9th of the frame. To fill the frame the pinhole would need to be at least 2/3rds closer, in the middle of the river! A satisfactory pinhole shot is just not possible from this location.
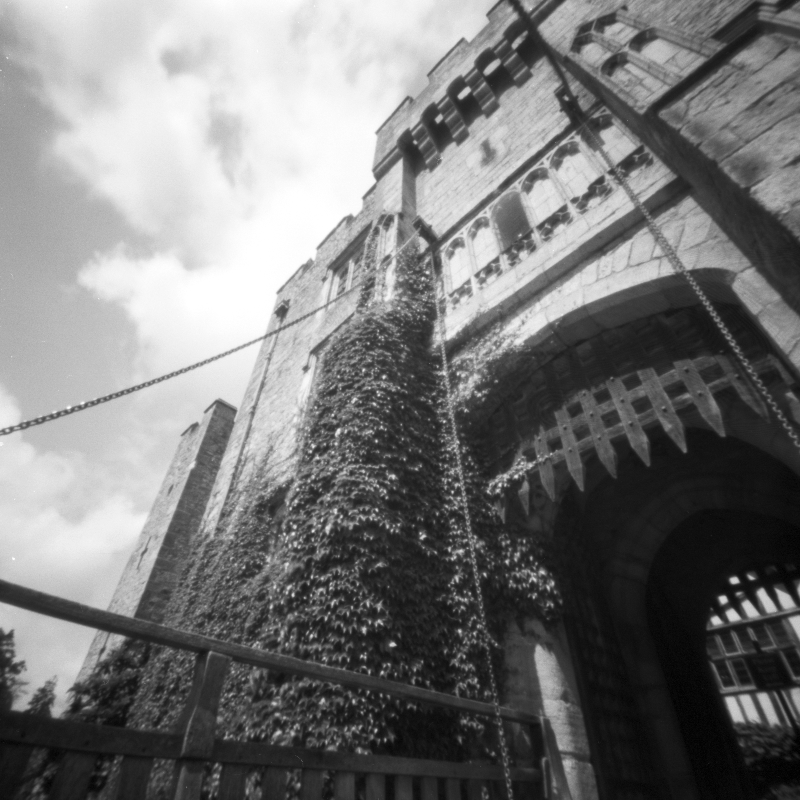
Instead of positioning the camera 5 meters back from the castle, it was placed on the drawbridge just a meter in front of the gate, pointing somewhat skywards. This takes advantage of the wide angle of view to get a dramatic composition, making the castle gate appear to be a gaping mouth.
The distance to the subject
Consider if we want to entirely fill the frame with the subject. If we make some assumptions about the scene, it is possible to come up with another simple formula to assist us in understanding how close to get. Imagine the camera is positioned such that the film plane is parallel to the plane of the subject, at a height that is half the height of the subject. The distance required to fill the frame with the subject is given by the formula
distance = height of subject / (2 * tan(field of view / 2))
Once again considering the ZeroImage 2000 with a field of view of 100 degrees, the formula shows that to capture a portrait of a person 1m80 cm tall requires the camera to be positioned 75 cm away from the person, at a height of 90 cm. If the field of view were exactly 90 degrees, things would be very simple – the distance would simply always be half the height of the subject. 100 degrees is only a little wider, so we can avoid having to calculate the formula every single by assuming half the height and then moving a little closer.
Now in practice the camera plane may well not be parallel to the plane of the subject – the subject might not even have a single obvious plane to compare against, so it is generally more useful to use the field of view to understand the extents of the image. The distance rule of thumb just helps with understanding the initial rough position you need to walk to, before fine tuning by looking at sighting lines.

By taking into account the distance formula and field of view, it was possible to frame the steam engine so it precisely fills the 6×6 negative without any need for cropping when printing. The curved lines at the bottom are a result of the film not being held completely flat in the camera.
Playing to the pinhole camera’s strengths
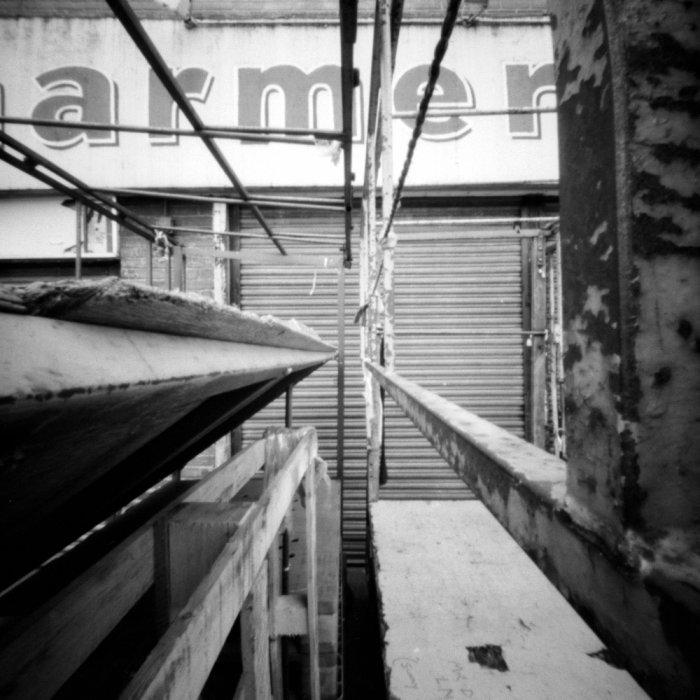
Understanding how to position the camera to capture a subject is all well and good, but before doing that there needs to be some decision about what parts of the scene are desired in the final photograph. Given the inability to control depth of field, to throw distracting backgrounds & foregrounds out of the focus, the decision about what part of the scene to include takes on an even greater importance than with mainstream cameras. Essentially everything from front to back will exhibit the same level of sharpness, so if there is a distracting object in the scene, the camera will have to be physically positioned to try to eliminate or minimise the distraction. With pinholes that have a very wide angle of view, this is harder than it might seem – once again you might find it necessary to move much, much closer to the main subject. Compare the following two images from the same shoot

Ulltraviolet: World Record Cyanotype. The camera is about 2 meters away from the group of people, just 2 foot off the ground and angled pointing down. The cyanotype fills the foreground, but the people in the scene are tiny due to the wide field of view of the ZeroImage 2000. The yellow bins and white crane are also distractions. The result is a fairly unsatisfactory usage of the field of view.

Ulltraviolet: World Record Cyanotype. The camera was no more than 2 foot away from the closest person, just 2 foot off the ground and angled pointing down. This emphasizes the group of people in the foreground, eliminates the boring sky and still captures the entire cyanotype in the background. This is an effective use of the wide field of view.
Wide angles of view have quite dramatic effects on the perception of depth and perspective. Objects that are nearer the lens will be greatly emphasised as compared to those further away. One of the reasons few portraits are taken with wide angle lens is that a portrait taken face on to the person will end up with a greatly exaggerated, and thus unflattering, nose in the centre of the image. This doesn’t mean that you can not use a wide angle for portraits though – one simply has to be aware of this effect and figure out a way to use it as an advantage. For example, positioning the camera an an oblique angle to the person will dramatically increase the distortion across their whole body, making for a much interesting style of image, with no single unflattering point to focus in the centre – the wide spread distortion draws the eye around the image. Similarly when taking architectural shots, the wide angle allows for a composition to emphasize lines in the building.
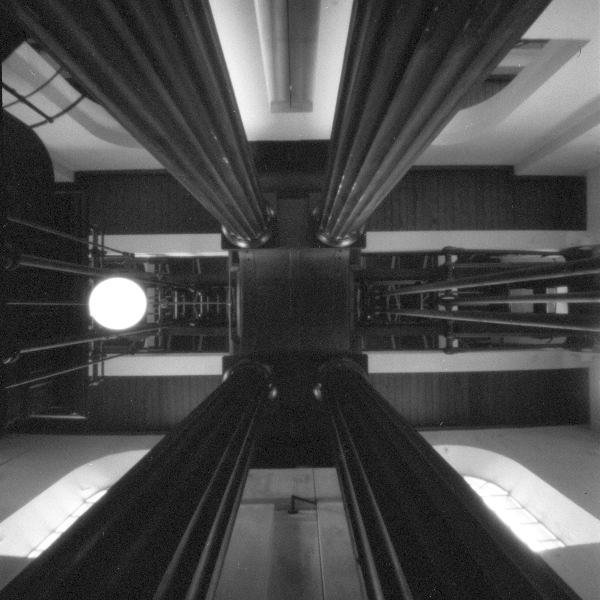
Kew Bridge Steam Museum. The camera is positioned on the floor underneath the steam engine, pointing directly up. The wide angle of view results in dramatic converging columns.
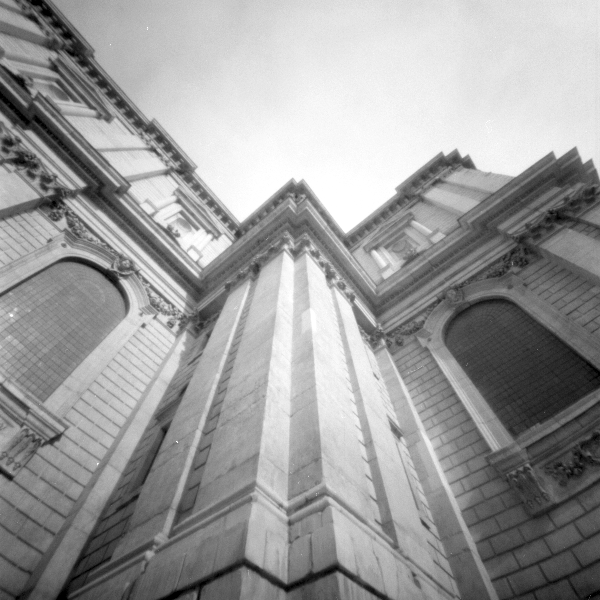
St Pauls. The camera was placed close to the ground, right up against the wall, pointing almost straight up. This emphasizes the architectural lines and angles in the building and draws the eye into image.
With the tiny pinhole aperture, comes long exposures, which in turn have a big impact on movement. Camera shake is dealt with by using a tripod, or some improvised stand, or a conveniently located surface to hold the camera still. There is little that can be done about movement in the scene itself, once film of a particular ISO has been loaded. Pinholes are thus not usually the right camera for capturing live action sports events. On the flip side though, the long exposure times open up options that other photographers don’t have (unless they have a 10-stop neutral density filter handy). Capturing architectural shots in a busy city requires a lot of patience and/or very early starts to the day if the goal is to eliminate people from the scene. This is no problem for a pinhole camera though – if there are people walking through the scene, they will blur away to nothingness with an exposure of a few seconds. Even with a mere 1 second exposure they’ll be nothing more than ghosts. If there is moving water in the scene, it will blur to a silky smooth carpet, which can provide an interesting contrast to the non-moving areas of the scene which remain relatively sharp with distinct features.
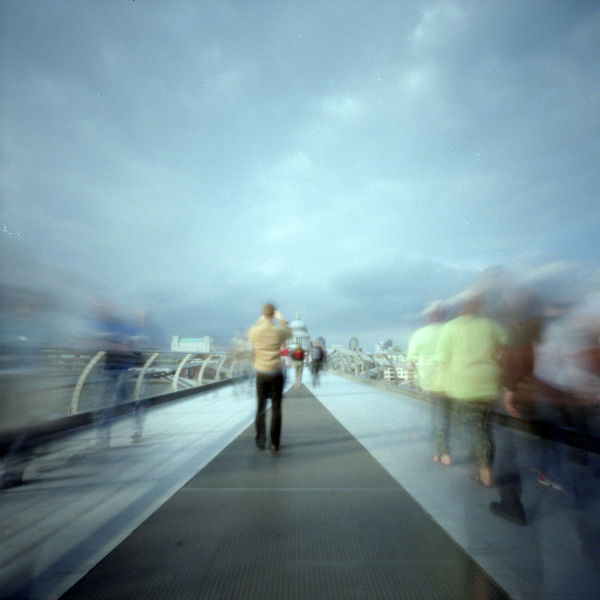
Millennium Bridge. An exposure of about 1 second allowed the people walking across the bridge to blur into ghostly figures. This provides contrast with the man in the centre who had stopped for a photo and so remains relatively distinct

Washing cyanotype. In the 1 second long exposure, the two people washing the cyanotype exhibit movement during the exposure. This provides a enhanced sense of the action taking place in the scene. The eye is also drawn to the second point of interest, the onlooker on the left hand side of the image who is appears sharp in contrast to the two main subjects.
Manufacturers of lenses typically strive to produce glass that results in even illumination across the entire area of the film / sensor, and eliminate flares. Light fall-off in the corners – aka vignetting – is something that they aim to avoid, or at least minimize. With pinholes there is very little that can be done – they will always “suffer” from vignetting, resulting in a prominent hotspot in the centre of the image. This shouldn’t be considered to be a bad thing though – as mentioned earlier, the inability to control the aperture & focal point means there is no scope for using depth of field to de-emphasize distracting details. Given this, the fact that there is a hotspot is actually a benefit as it will draw the eye away from distractions at the edges of the frame. When printing pinhole images it might be desirable to further emphasize the hotspot to take advantage of this effect.
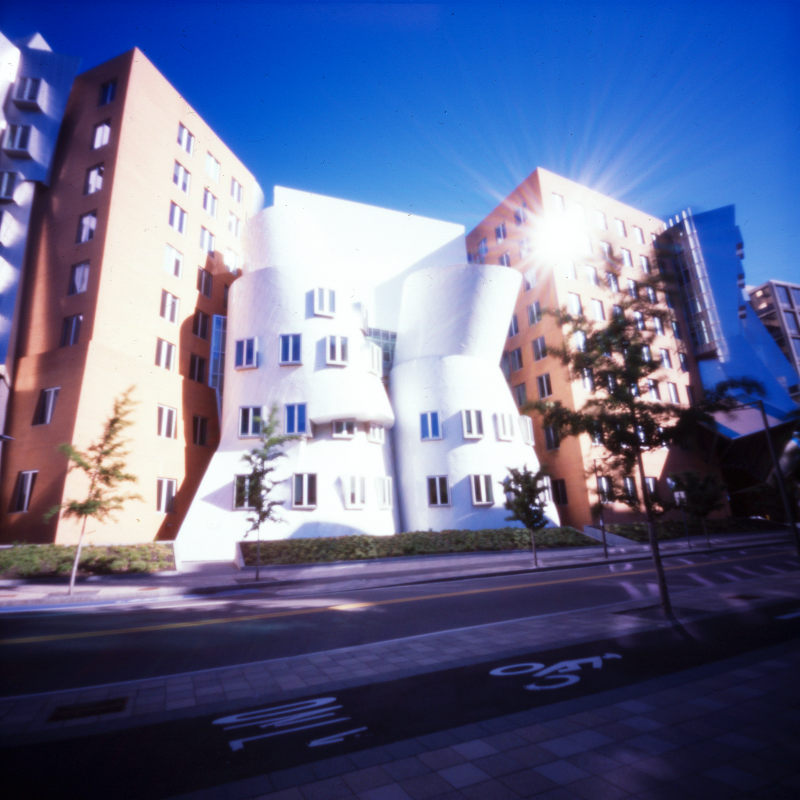
The vignetting effect of the pinhole creates a distinct bright spot in the center of the image. The pinhole also has a dramatic flare effect on the reflection of the sun on the windows which adds interest to the image .
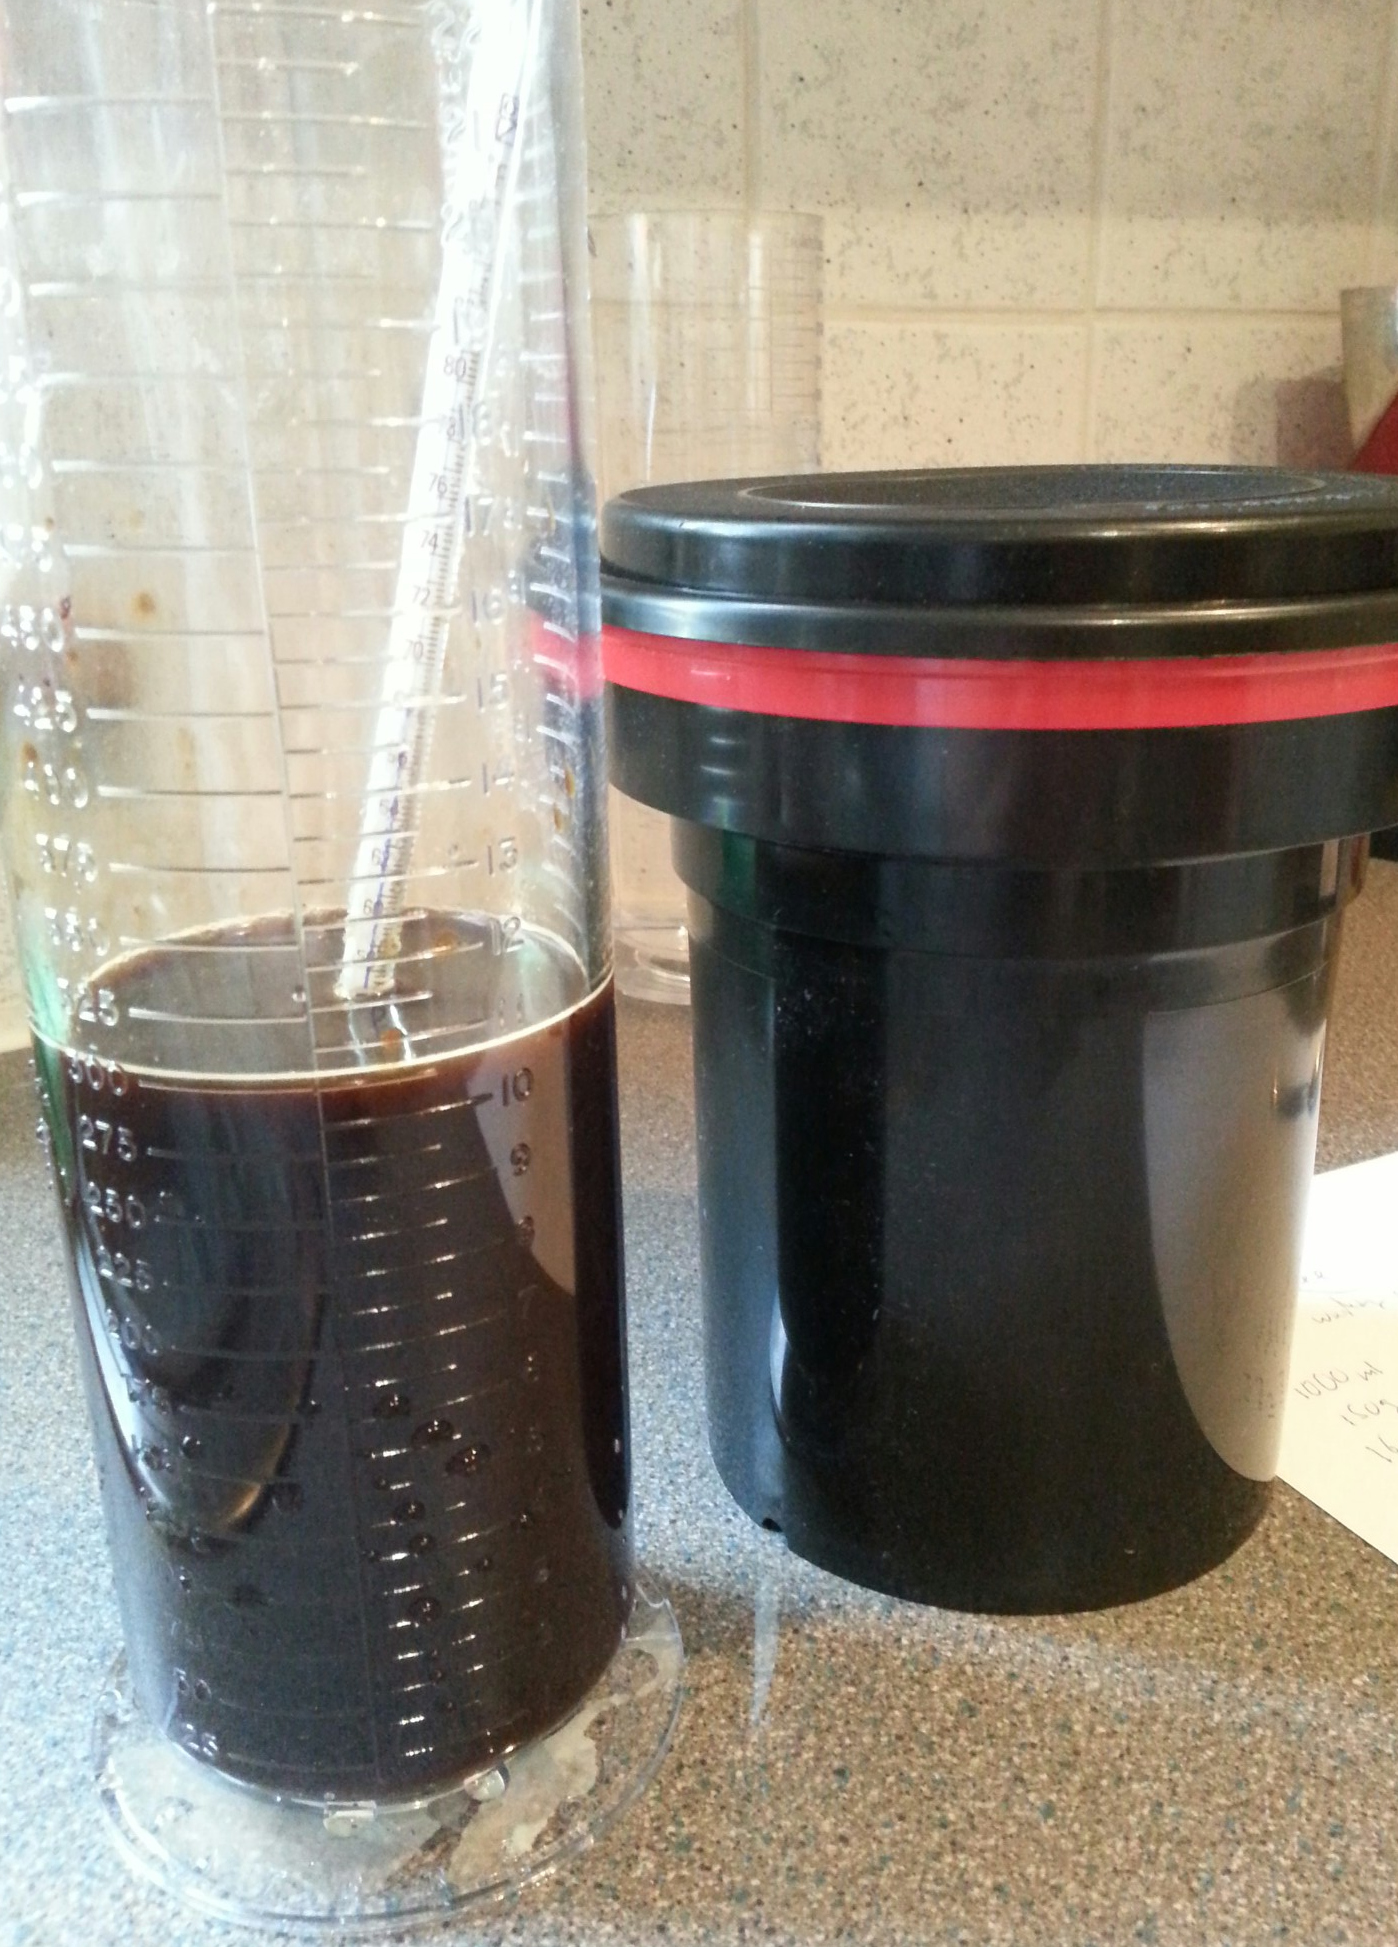
The writing above has barely scratched the surface of challenges and rewards of pinhole photography. There are some very interesting photographers posting to the Flickr ZeroImage photo pool, including a big inspiration of mine, Scott Speck, whose masterful pinhole portraits and architectural compositions I aspire to one day match. It is clear that the best pinhole photographs can match the best from mainstream photography, if a photographer is willing to put in the time to understand and adapt to its unique characteristics. The time owning a ZeroImage 2000 has been a continual learning experience, but since en-graining a mental model of its field of view, the success rate obtained from pinhole shots has increased significantly. The results are no longer dominated by chance, instead an element of predictability has come to the fore. This has provided greater confidence when taking photos, which has in turn allowed greater experimentation with compositions. A return to working in the darkroom, combined with use of the Caffenol-CH-UK developer has also started to form a satisfying personal style across the images when printed.