All the photographic management & processing tasks I do use open source applications, in particular Digikam and GIMP. For processing, I’ll often convert to monochrome and then add subtle toning to the image. If I’m lazy I’ll do a quick monotone using the “Colors -> Colourize” menu option, but for things that I care more about I’ll go to the trouble of applying a duotone. There are a number of different ways to achieve the same end result, and for this blog posting I’ll illustrate a technique using layers in GIMP. The screenshots here are taken on Fedora 18, with GIMP 2.8.4
Initial colour image
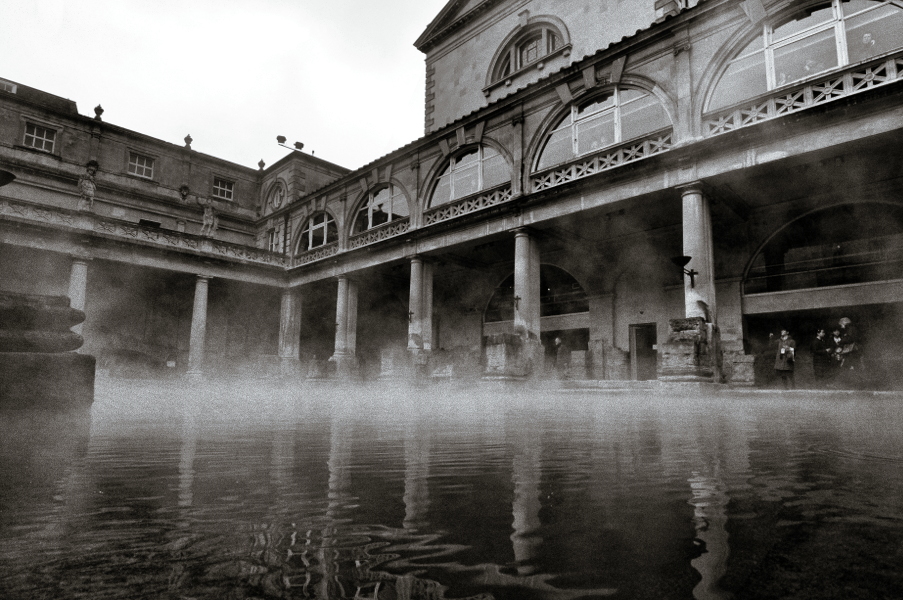
The image we’re starting with is a simple shot of the Roman Baths in Bath which I’ve scaled down to approx 900×600 pixels, which is the standard resolution I used for things which will be uploaded to the web only.
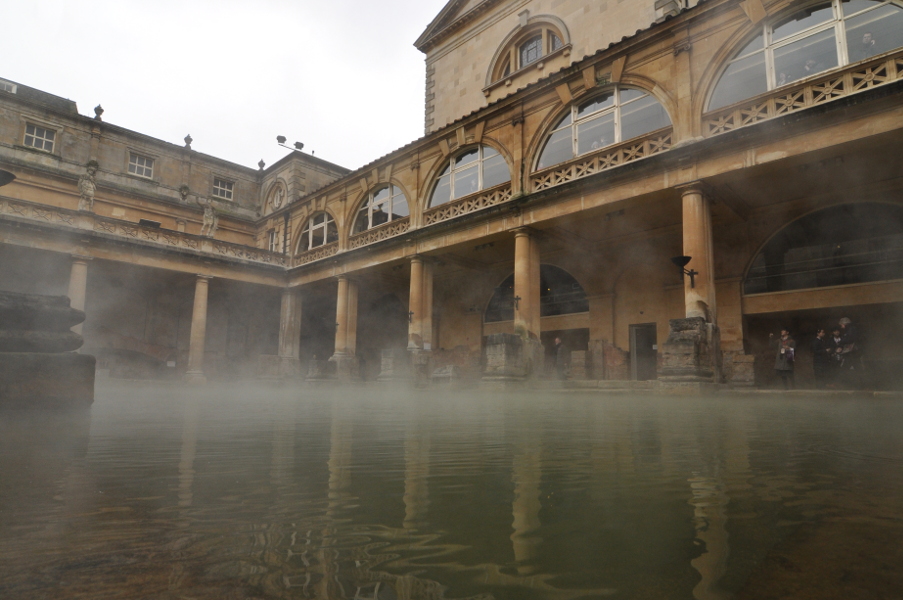
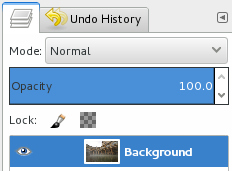
There is of course only one layer to start off with, which has been given the name “Background”.
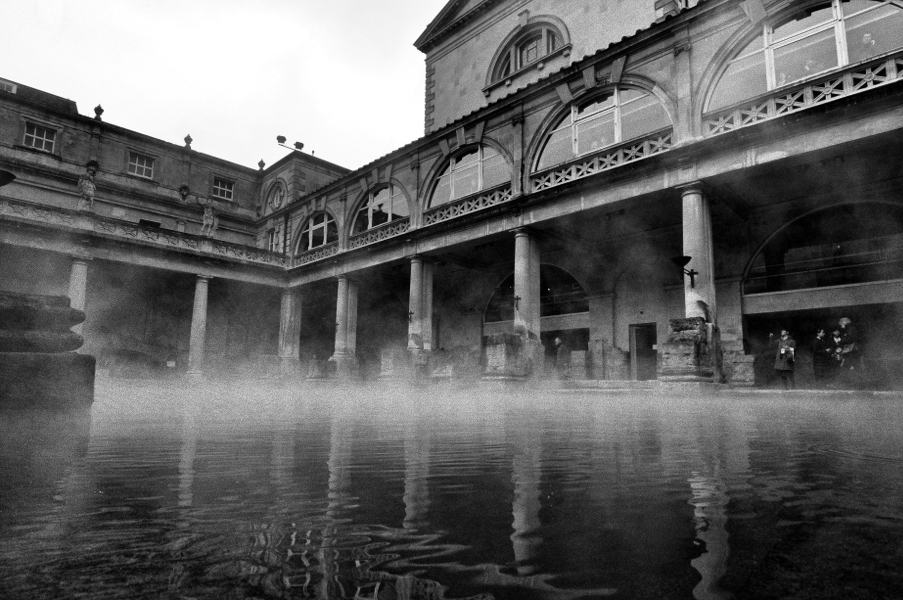
Step 1: Conversion to B&W
Before applying any tone, the colour needs to be removed from the image. There are a huge variety of techniques for doing this, which could satisfy many blog postings in their own right. In this case I’ve made use of the relatively unknown “c2g” operation (Tools -> GEGL Option -> c2g). This produces a fairly contrasty and grainy monochrome image
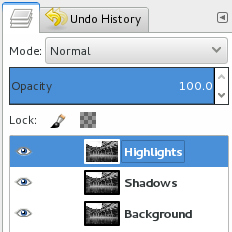
Step 2: Copy layers
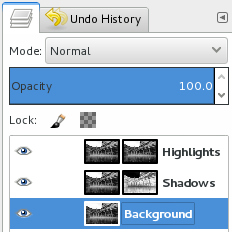
Now it starts to get interesting. Create two copies of the “Background” layer, giving them the convenient names “Highlights” and “Shadows”
Step 3: Add layer masks
Right click on the thumbnail in each of the new layers and select “Add layer Mask”. In the dialog that pops up, select “Grayscale copy of layer”. Then select the thumbnail of the mask in the “Shadows” layer and invoke the “Colours -> Invert” menu option. The layers view should now look like this
Step 4: Fill layer canvas
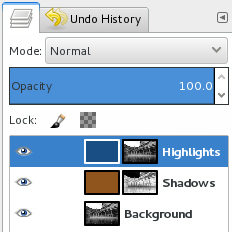
Set the foreground and background tool colours to those that will be used for the toning. With this image, I am using #90551d for the brown tone and #184e83 for the blue tone. Now select the image thumbnail of the “Highlights” layer and fill with the foreground colour (blue) by pressing “Ctrl+,” (or using the bucket fill tool). Repeat for the “Shadows” layer but fill it with the background colour (brown) by pressing “Ctrl+.”. The layers view should now look like this:
This should have had quite a dramatic effect on the actual image

Step 5: Set layer mode
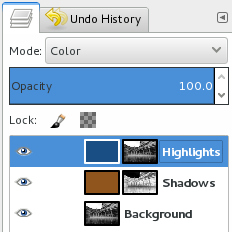
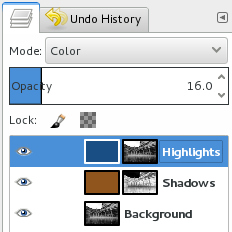
After the previous step, we’re just seeing the addtion of two colour masks, which isn’t the desired effect. The colours need to applied selectively to the highlights and shadows respectively. To achieve this goal, the blending mode of the “Highlights” and “Shadows” layers needs to be changed from “Normal” to “Color”. The layers view will now look like this:
Looking at the actual image, we’re heading in the right kind of direction, but the toning is still quite strong
Step 6: Set layer opacity
The final task is to moderate the toning effect, which is achieved by changing the opacity of the “Highlights” and “Shadows” layers. For this image, the “Highlights” opacity is set to 16%, while the “Shadows” are slightly higher at 24% opacity.
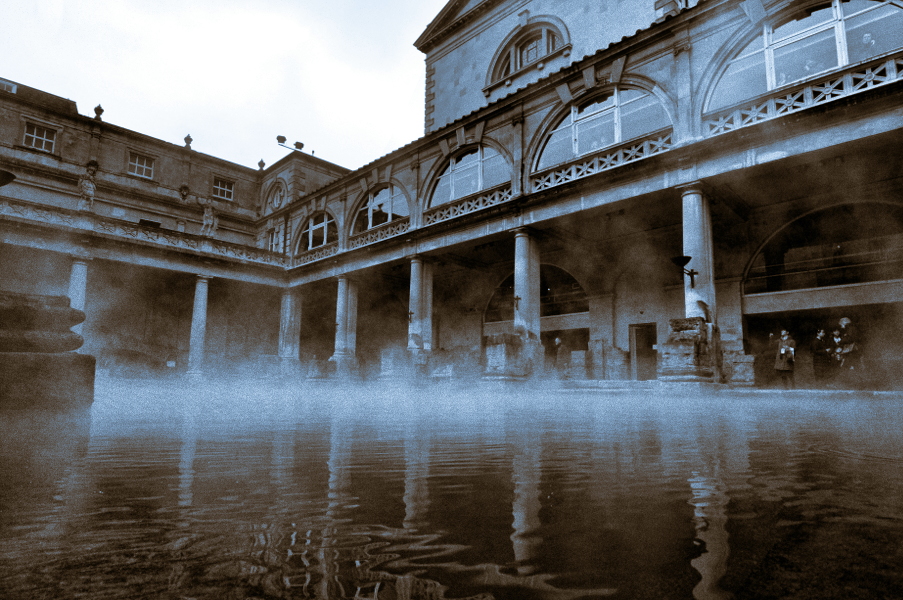
Final image
This duotone processing is now complete. The final image has a fairy subtle toning. If a stronger tone is desired, the opacity settings in the previous step can be tweaked as desired. Personally for duotones, I prefer to keep the effect quite light, leaving stronger effects for monotoning.
Very enlightening explanation of duotone, thank you very much for your effort and time.
Best example I’ve seen on duotoning. C2G really helps.
An excellent explanation. Much thanks. Helps especially for those of us using Gimp2.9 so we can get 16-bit image manipulation, which means that many of the “standard” plugins and scripts are not available because they are not 16-bit capable.
Thanks, it works!