Category Archives: Tutorials

Stacking multiple images to reduce noise

One of the critical problems when producing astronomical images is to minimize the amount of noise in an image, while still being able to capture the very faint detail which is barely distinguishable from noise. The post processing technique used to address this problem is to merge together multiple images of the same subject. The constant signal in the images gets emphasized while the random noise gets smoothed / cancelled out. There is specialized software to perform stacking of astronomical images to deal with alignment between subsequent frames, as the earth’s rotation can cause drift over time if the camera mount isn’t compensating. The image stacking technique is not merely something for astrophotographers to use though, it is generally applicable to any use of photography.

Image stacking in a non-astrophotography scenarios is in fact simpler than one might imagine. The only physical requirement is that the camera is fixed relative to the scene being photographed, which is trivially achieved with a tripod of other similar fixed mounting facility. In terms of camera settings, it is necessary to have consistency across all the shots, so manual focus, fixed aperture, fixed shutter speed, fixed ISO and fixed white balance are all important. With the camera configured and the subject framed, all that remains is to take a sequence of shots. How many shots to take will depend on the quality of each individual image vs the desired end result. The more noisy the initial image, the larger the number of shots that will be required. As a starting point, 10 shots may be sufficient, but as many as 100 is not unreasonable for highly noisy images.

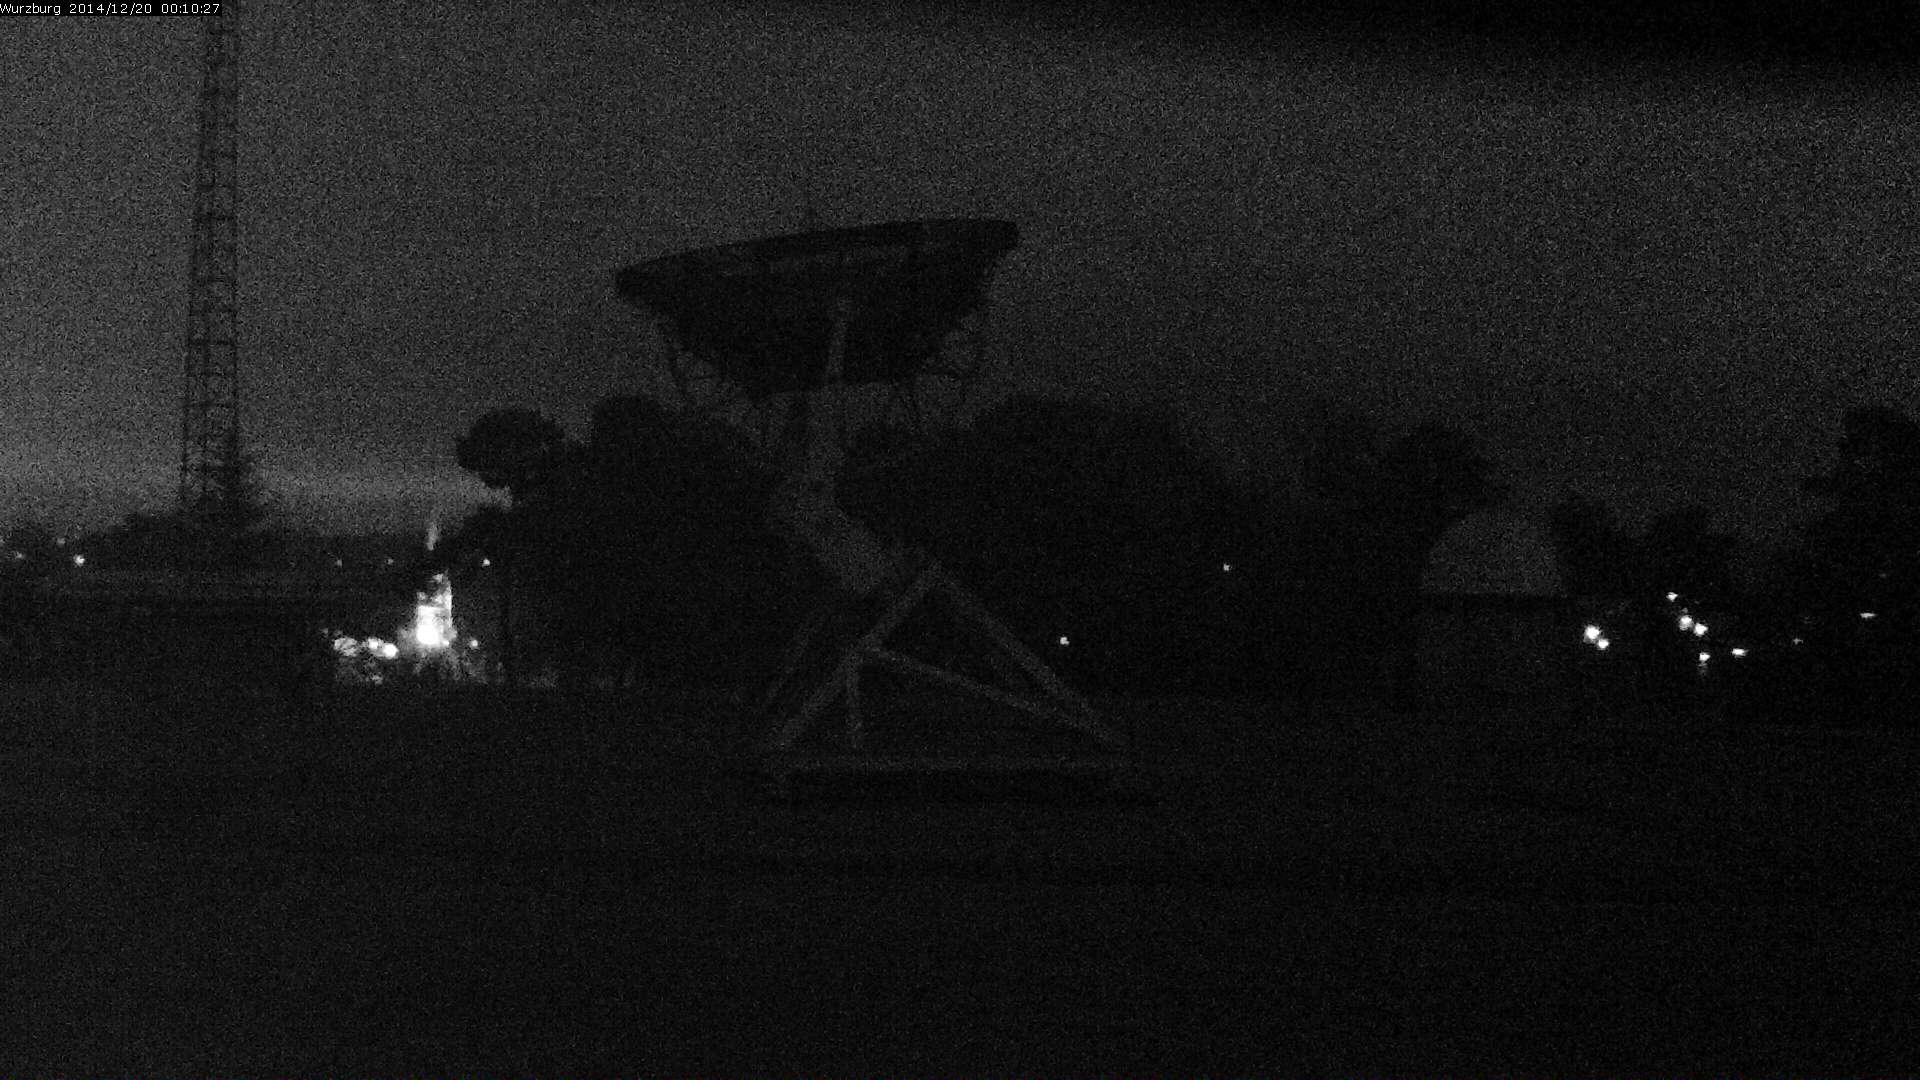
To illustrate the versatility of the image stacking technique, rather than use images from my DSLR, I’ll use a series captured from the night vision webcam of the Wurzburg radio telescope. A single captured frame of the webcam exhibits large amounts of random noise (click image to view fullsize):

Wurburg Radio Telescope single image


Over the course of a few minutes, 200 still frames were captured from the webcam. The task is now to combine all 200 images into one single higher quality image. Processing 200 images in a graphical user interface is going to be painfully time consuming, so some kind of automation is desirable. The ImageMagick program is the perfect tool for the job. It has a option “-evaluate-sequence” which can be used to perform a mathematical calculation for each pixel, across a sequence of images. The idea for minimizing noise is to take the median pixel value across the set of images. Stacking the images is thus as simple as running

# convert webcam/*.jpeg -evaluate-sequence median webcam-stack.jpeg

This is pretty CPU intensive process, taking a couple of minutes to run on my 8 CPU laptop. At the end of it though, there will be a pretty impressive resulting image:
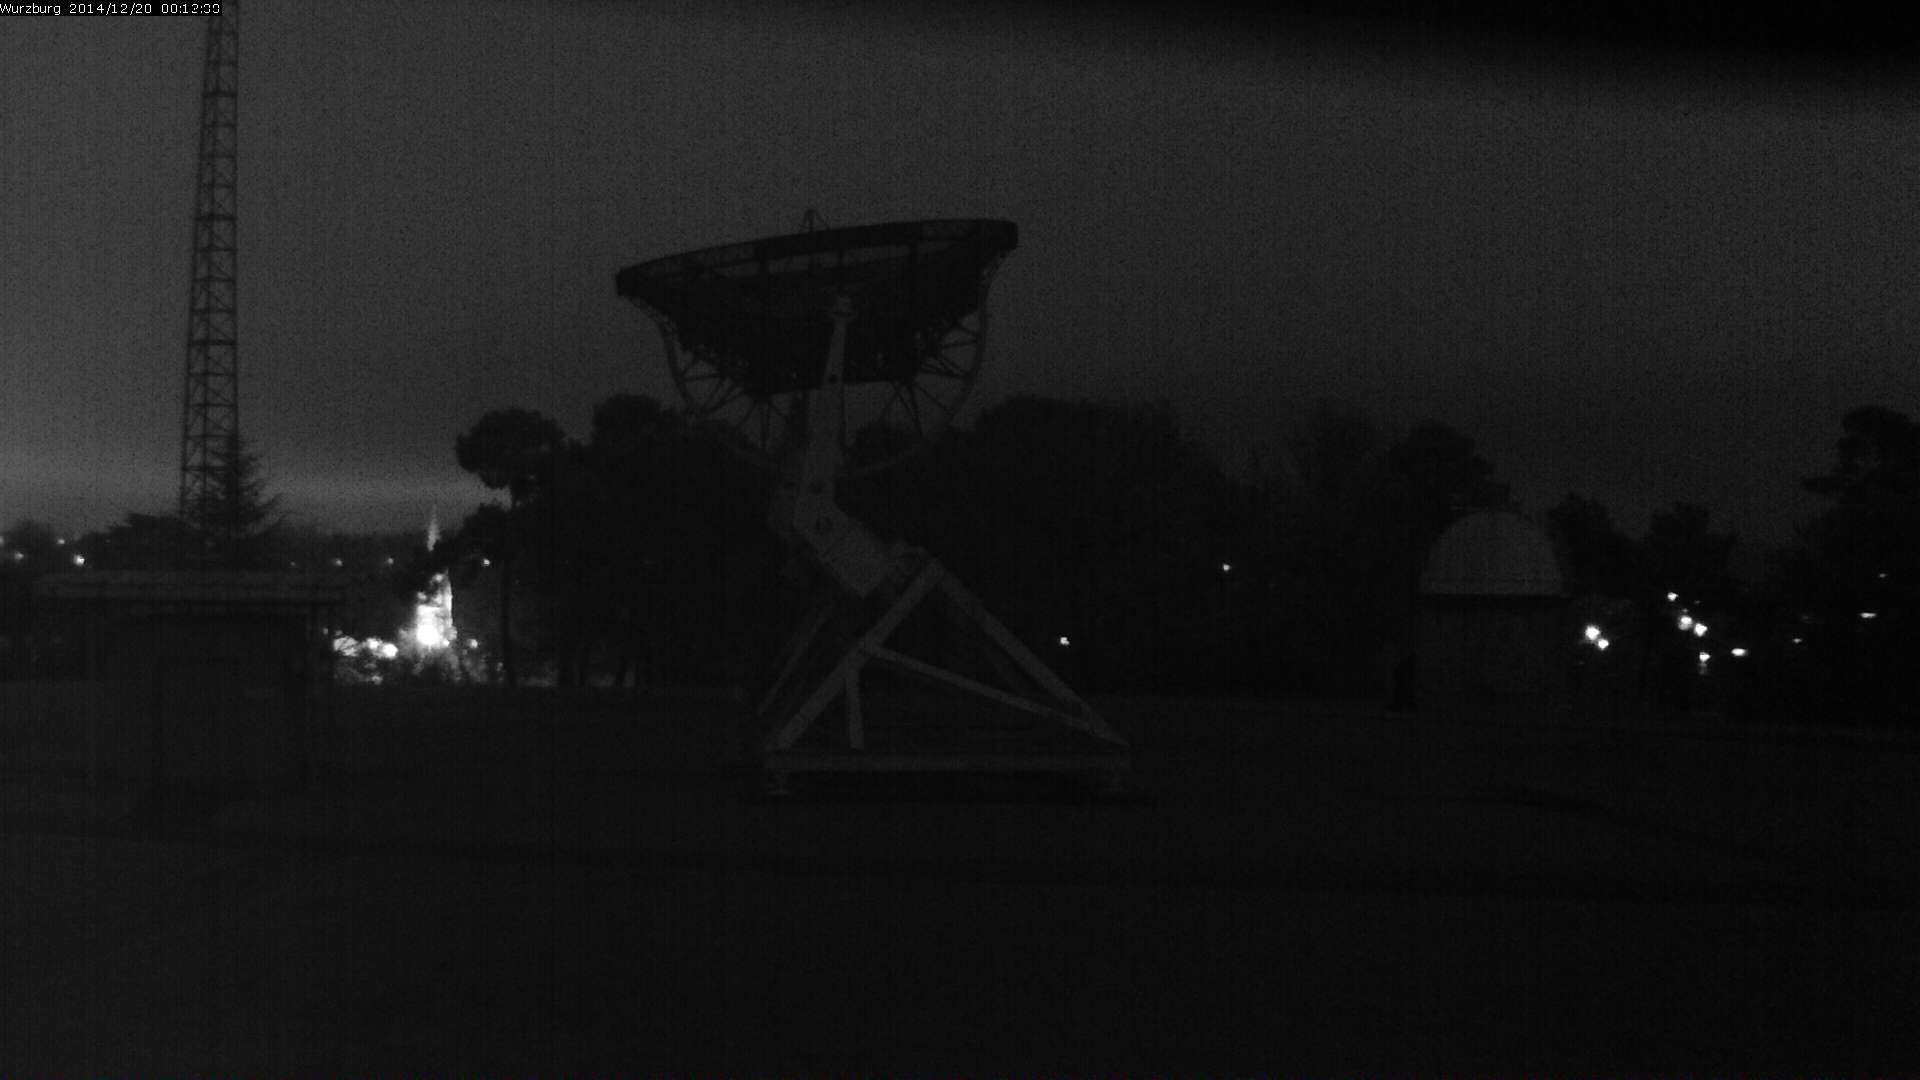
Wurzburg Radio Telescope stacked imageThe observant will have noticed the timestamp in the top left corner of the image gets mangled. This is an inevitable result of stacking process when there is part of the image which is moving/changing in every single frame. In this case it is no big deal since the timestamp can either be cropped out, cloned out, or replaced with the timestamp from one single frame. In other scenarios this behaviour might actually work to your advantage. For example, consider taking a picture of a building and a person walks through the scene. If they are only present in a relatively small subset of the total captured images (say 5 out of 100), the median calculation will “magically” remove them from the resulting image, since the pixel values the moving person contributes lie far away from the median pixel values.

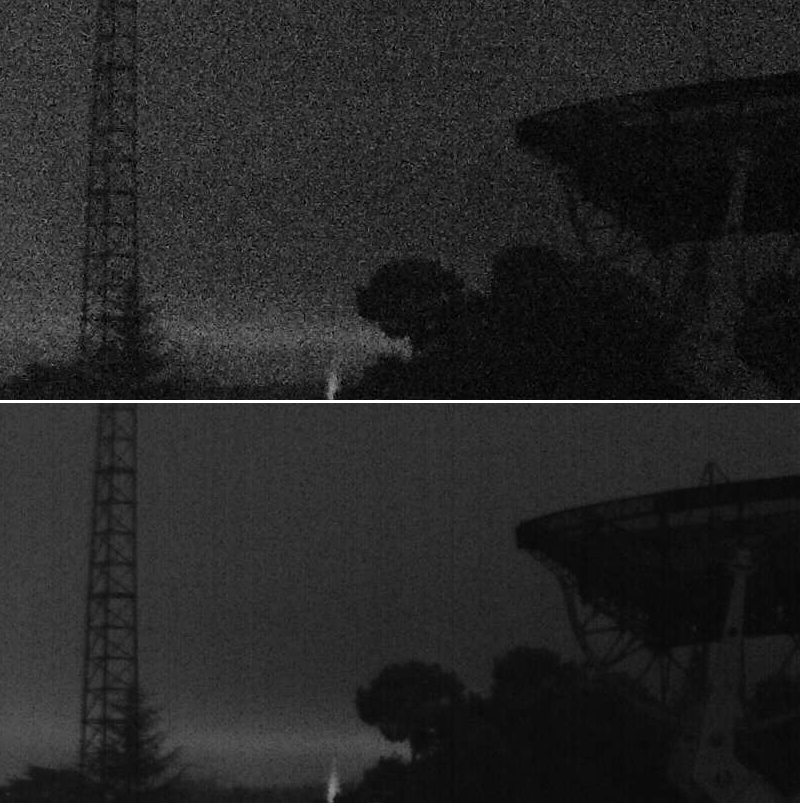
Going back to our example image, the massive reduction in noise can be clearly seen if viewing at 1:1 pixel size with the two images adjacent to each other

Wurzburg Radio Telescope comparison

With the reduction in noise it is now possible to apply other post-processing techniques to the image to pull out detail that would otherwise have been lost. For example, by using curves to lighten the above image it is possible to expose detail of the structure holding up the telescope dish:
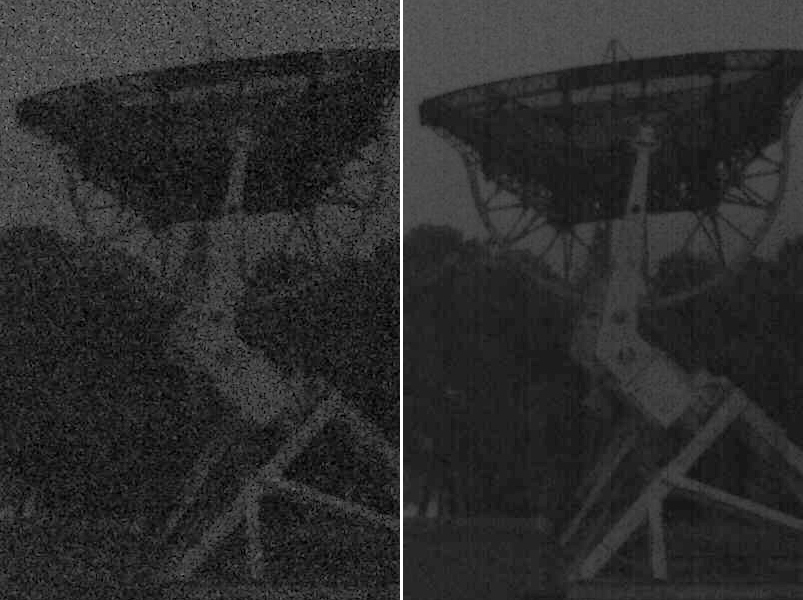
Wurzburg Radio Telescope comparisonSo next time you are in a situation where your camera’s high ISO noise performance is not adequate, consider whether you can make use of image stacking to solve the problem in post processing.
 

Combining the chemigram and lumen printing processes

Over the past few weeks I have written about experiments with the Chemigram process and most recently the Lumen printing process. When learning how to create Lumens, the intent was always to figure out how to then combine the technique with the chemigrams process to form hybrid works. The idea is that chemigrams excel at producing abstract images, while Lumens can produce some very detailed reproductions of objects being imaged. Combining the two techniques would hopefully allow the appealing aspects of both techniques to be presented in a single print.

As a refresher, with the chemigram process the image is formed by moving the paper back and forth between developer and fixer baths, often with some kind of resist applied to control the effects of the chemicals. When the desired image is achieved, a final archival fix and wash is performed. With the lumen process the image is formed by placing some object(s) on photographic paper and then leaving it in the sun for 20 minutes to many hours. When the desired image is achieved, a final archival fix and wash is again performed.

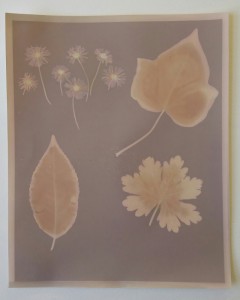
A Lumen print exhibiting varying colour tones. The image is dark purple where the paper was fully exposed, pale pink where fully obscured from light, and a yellow/brown where moisture from the leaves affected the paper

A Lumen print exhibiting varying colour tones. The image is dark purple where the paper was fully exposed, pale pink where fully obscured from light, and a yellow/brown where moisture from the leaves affected the paper

The approximate goal is to have certain regions of the paper processed with one technique, and the remainder of the paper processed with the other technique. The key challenge is figuring how to apply the processes so that their effects are localized. To expose the lumen image, the paper must not have been exposed to either fixer or developer. The chemigram process does not particularly care whether there is an image formed already, as the developer bath will obliterate any unfixed image. Thus the image formed by the lumen exposure must be protected from any developer used in the chemigram process.

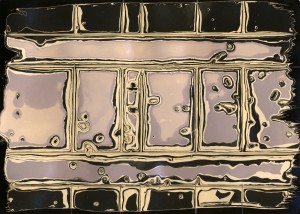
Wood varnish applied to the paper as resist, and left to dry for 24 hours. Lines scored in the varnish with a blade

Chemigram created using wood varnish applied to the paper as resist, and left to dry for 24 hours. Lines scored in the varnish with a blade

A potential sequence of steps for combining the techniques would thus be

  1. Apply resist to the areas of the paper that will be using the chemigram process
  2. Expose the lumen image on the areas of paper not covered by resist
  3. Perform an archival fix on the paper, preserving the lumen image
  4. Switch between developer and fix, working on the chemigram resist
  5. Perform a second archival fix to preserve the chemigram image

Steps 1 and 2 can actually be reversed – the only requirement is that the resist be applied before doing the archival fix on the lumen image in step 3. If the chemigram resist is fairly strong, little of the fixer used in step 3 will penetrate, allowing plenty of opportunity to build up the chemigram image.

If one wants to use a soft chemigram resist, it may not be desirable to fix the lumen print before forming the chemigram image. One alternative idea would be to protect the exposed lumen image from the developer by applying a relatively hard resist over it. This gives a slightly different production sequence

  1. Expose the lumen image on the paper
  2. Cover the lumen image in a hard resist
  3. Apply a soft resist to areas of the paper that will be using the chemigram process
  4. Switch between developer and fix, working on the soft chemigram resist
  5. Switch to water/stop bath and remove the hard resist from the lumen image
  6. Perform an archival fix to preserve both the chemigram and lumen image

The hard bit is probably figuring out what is most effective as the resist over the lumen image, such that it avoids any effects from developer, while being easy to remove in a water bath.

In my first experiment at creating a hybrid I tried the first sequence using a dried flour and water paste as the hard resist for the chemigram. The flour paste was applied to a few regions of a sheet of outdated photo paper and left to dry out overnight. After that flowers were placed onto the areas not masked and exposed in the sun for 30 minutes to allow a lumen image to form

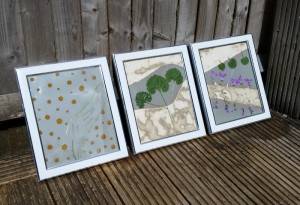
Exposing a lumen image on paper partially coated in a mask for future chemigram work.

Exposing a lumen image on paper partially coated in a mask for future chemigram work.

Once the lumen image had formed, the paper was placed straight into the fixer bath for an archival quality fix, to preserve the lumen. As ever, it was slightly disappointing to see the intensity of the raw lumen image fade in the fixer, but what remained was still attractive. With the lumen phase out of the way, it was time to work the resist to form the chemigram image. As mentioned before, the flour paste forms a relatively hard resist once dry, so it took many switches back & forth between developer and fixer to work off the resist. The paper was flexed and rubbed to encourage the resist to break up and form the abstract patterns that characterize chemigrams. The final results were very satisfying for a first experiment

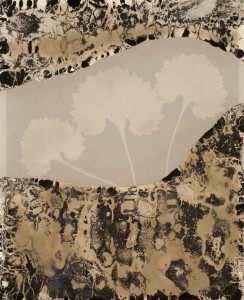
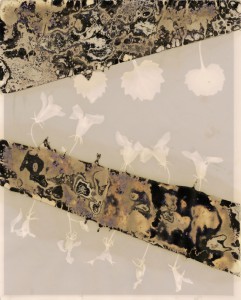
Resulting print after combining the chemigram and lumen processes.

Resulting print after combining the chemigram and lumen processes.

Resulting print after combining the chemigram and lumen processes.

Resulting print after combining the chemigram and lumen processes.

Despite only having made one attempt at combining the processes, the results clearly illustrate there is good potential in the overall idea. There are many avenues of exploration available to take it forward, and I’m thinking it’ll form the basis of an interesting project over the coming months.

An introduction to the Lumen printing process

I don’t have space for a darkroom at home, and while there are still a number darkrooms across London that provide training and rental, this quickly gets expensive and lacks convenience due to travel time involved. As such I have an interest in traditional photographic techniques which can be performed under normal interior or exterior light conditions. Film development requires nothing more than a changing bag to transfer the film to the processing reel. The cyanotype process only needs limited darkness after coating the paper while it dries, thereafter the actual exposure takes place outside in direct sunlight or via a UV exposure unit. While the chemigram process could be done in a darkroom, it is most commonly done in daylight as image formation doesn’t rely on light, but rather interaction of the chemicals to write onto the paper.

Continuing with this theme, the time came to try out the Lumen printing process. Many people are familiar with the photogram technique. Objects are placed directly onto light sensitive paper, which is then exposed under a enlarger, typically forming silhouettes of the objects where they blocked the light source. The paper is then processed in developer and fixer following the normal black & white printing process. This of course requires use of a darkroom.

Those who have handled traditional black & white photographic paper may have noticed that when it is exposed to daylight it slowly changes colour. Normally this would be a disaster making the paper useless for further photographic use. The Lumen printing process though, takes advantage of this behaviour in combination with a photogram like technique. Objects are placed directly onto light sensitive paper, and it is exposed to a light source, but this time it is either sunlight or a UV exposure unit. Over the course of the exposure, which can last anywhere from 20 minutes to several hours, the photographic paper will gradually change colour forming a silhouette of the objects. Once the paper is exposed, it would NOT go anywhere near photographic developer as that would just turn the entire paper uniformly black. Instead it is placed straight into a fixer bath, followed by an archival wash

The image initially visible after exposure can be quite intense, but this will sadly fade somewhat during the fix, and the colours will also typically shift in tone. The result is an image which is fairly low contrast with quite subtle tones. What is surprising is that despite the use of black and white paper, the image will actually exhibit significant colouration. This is markedly different from what is seen when creating photograms where the image is still strictly black and white and high contrast.

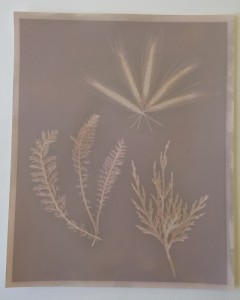
A simple lumen plrint made with planet cuttings. The image is fairly low contrast and mostly shows an outline of the plants.

A simple lumen plrint made with planet cuttings. The image is fairly low contrast and mostly shows an outline of the plants.

There are a variety of factors which will influence the colours obtained in a Lumen print. A non-exhaustive list would include

  • Type of paper – each paper has a unique chemical formulation in its light sensitive coating(s) and as a result will behave differently when exposed to UV light
  • Age/condition of paper – the chemical formulation of the light sensitive coating(s) may change and degrade over time, depending on the way in which it was stored, which will in turn alter how it reacts with UV light
  • Time of exposure – the paper may undergo several colour changes as it receives increasing amounts of UV light. For example, it might start white, then go yellow, then blue. So varying the length of exposure will alter what colour the final image has.
  • Opacity of the objects – objects which are partially transparent to UV light will allow a range of exposures across the paper. Since colour is dependant on the amount of UV light, partially transparent objects can result in a range of colours being visible in the image.
  • Water on the paper – any water that is in contact with paper during exposure can influence the colours formed. The water can be applied manually, or it can leach out of the object (eg fresh cut flowers/plants) on the paper in the heat of the light.
  • Type of light source – while direct sunlight and UV exposure units both produce UV light, the sun provides a much broader spectrum, so will have a different effect than narrow band UV lamps. The sun is also a much more diffuse source than a lamp just millimeters away from the paper.
  • Toning of paper – the initial image will change and fade significantly during fixing. By toning the paper before fixing, it is possible to retain more intensity in the image and/or alter the colouring.
A Lumen print exhibiting varying colour tones. The image is dark purple where the paper was fully exposed, pale pink where fully obscured from light, and a yellow/brown where moisture from the leaves affected the paper

A Lumen print exhibiting varying colour tones. The image is dark purple where the paper was fully exposed, pale pink where fully obscured from light, and a yellow/brown where moisture from the leaves affected the paper

While some objects are heavy enough to make good contact with the paper and resist movement on their own, with others it might be necessary to weigh things down with a sheet of glass. This is particularly needed when using flowers and other plant material to form the image. There are a variety of options for this task. Those with existing darkroom equipment may well have one or more contact printing frames. These are quite expensive to obtain even on eBay, so more economical options are to obtain some suitable sheets of glass from a local glazing supplier, or use a cheap photo frame. With the prevalence of pound / dollar stores, finding cheap photo frames is remarkably easy. Why spend £50 on one contact printing frame, when you can buy 50 photo frames for £1 each. Being able to expose many prints at the same time will dramatically improve productivity, so it makes sense to go cheap and obtain many frames. It also means you won’t care if they get damaged or broken during use

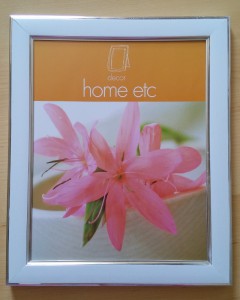
An 8x10" sized glass photo frame from a pound shop, to use for contact print

An 8×10″ sized glass photo frame from a pound shop, to use for contact printing

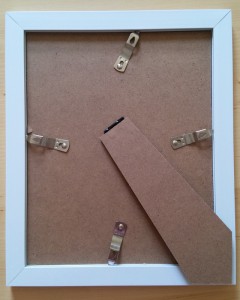
One important thing to note is that the photo frame should have quick release clips for the backing board, not tacks that require pliers to remove and a hammer to re-insert !

An 8x10" sized glass photo frame from a pound shop. The quick release clips allow easy changing of paper.

An 8×10″ sized glass photo frame from a pound shop. The quick release clips allow easy changing of paper.

To use them, open up the back place the objects onto the glass in the arrangement desired. Remember to flip the arrangement left-to-right at this stage, since you’re looking at the image from the back, not front. Then place a sheet of B&W photo paper on the object, so the emulsion side is in contact with the objects. Finally replace the photo frame back and secure the clips in place. There should now be good contact between the objects and paper to ensure they are held still and make good contact for crisp edges. The pressure also helps to squeeze fluids out of plants which can help with colouration of the print.

With the frame prepared, flip it over, place it in direct sunlight and leave it for a while. Over time the colour of the paper will change where it is exposed to the UV light. At a minimum 15-20 minutes will probably be needed, but don’t be afraid to leave the image exposing for hours. Given the length of time involved, it is worth preparing many frames and exposing them all at once. When the desired arbitrary amount of time has elapsed, disassemble the frame to remove the photo paper and place it into the fixer. As mentioned earlier, the intensity of the image will fade somewhat and the colours may also change significantly. Once an archival fix and wash is completed though, the image should be stable thereafter.

The cyanotype process is often said to be one of the simplest to photographic techniques to teach people, but it is clear that the Lumen process gives it a good run for its money. If preparing your own materials, cyanotype requires a little bit of care in mixing the right quantities of chemicals for coating the paper. The Lumen process requires no preparation of the paper – it is merely necessary to mix up fixer at the documented dilution factor. There is a slight burden on Lumen printing when it comes to disposing of the fixer, as it will become increasingly contaminated with silver as more sheets are fixed. Overall though it is a quite straightforward and satisfying process to work with. It is hard go go wrong, beyond exposing for too short a time, so even with no prior experience you’ll get some decent results.